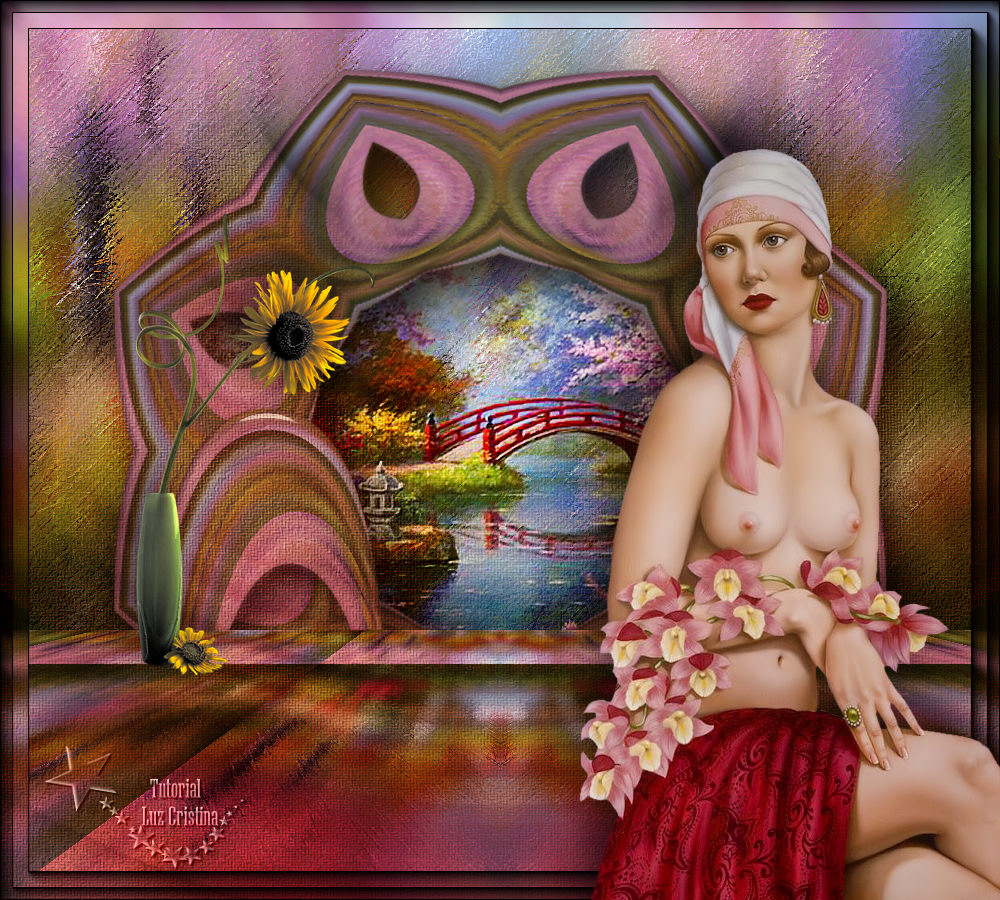
Material:
Un
Tube de María José
Gracias
Un Tube de Katjoes
Una Textura
Una
Imagen JPG
Filtros:
Mehdi
FMTT
Artistiques
Muras
Perspective tiling
Eye
candy5 Impact
AAA
Frames
Imprimir Tutorial
1.-
Abrimos un paño de 1000 X 650px
Select all
2.-
Copy la imagen JPG y paste into selection.
Selection none
3.-
Blur / motion blur por 3 veces:
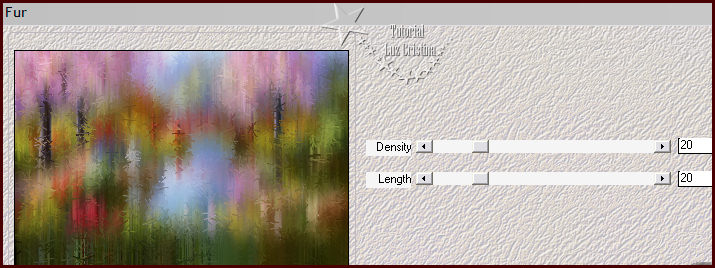
4.-
Filtro Mehdi / Fur:
5.- Filtro FMTT / blend emboss
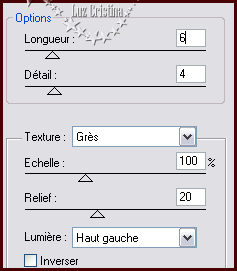
6.-
Filtro Artistiques / pastel:
7.-
Image / canvas size 1000 X 900px 0 250
0 0
8.-
Layers / duplicate / Image / flip.
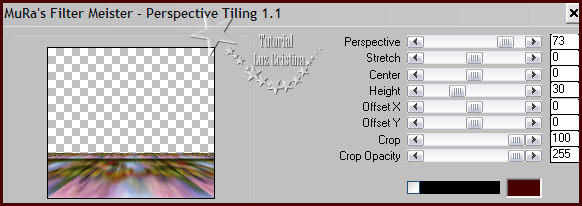
9.-
Filtro Muras M. Perspective Tile:
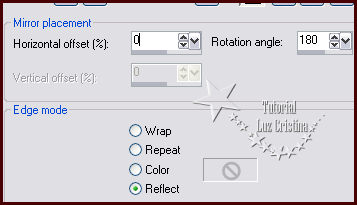
10.-
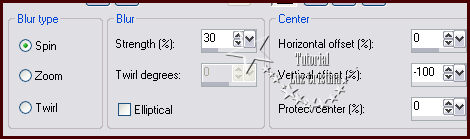
Reflection effects / rotating mirror:
11.-
Layers / duplicate
12.-
Geometric effects / perspective horizontal
con 90 transparente
13.-
Distortion effects / polar coordinates /
polar to rectangular
14.-
Resize al 60% solo esta layer
15.-
Layers / arrange move down
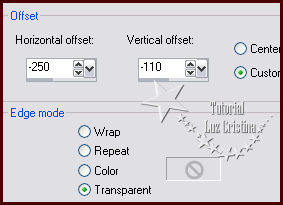
16.-
Image effects / offset:
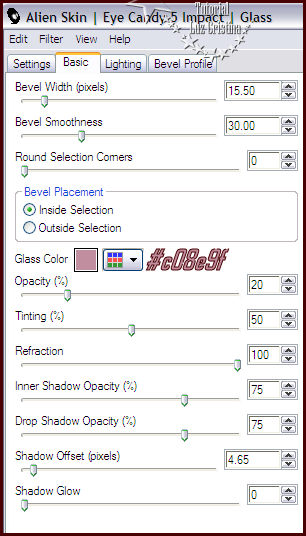
17.-
Filtro Alien skin Eye candy 5 / impact /
glass:
18.-
Layers / duplicate / Image / mirror
19.-
Layer / merge down
20.-
Layer / duplicate
(soy
la reina de la duplicidad jajajaja)
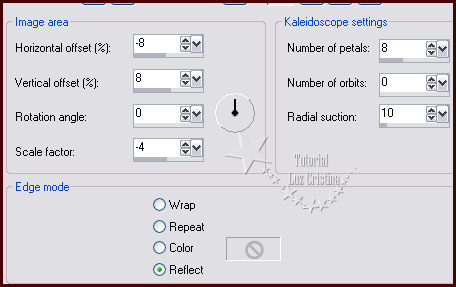
21.-
Reflection effects / kaleidoscope:
22.-Layer
/ arrange move down.
23.-
Geometric effect / spherize con 60 elipse
24.-
Copy la imagen JPG y paste as new layer
25.-
Aplicar la masck 20 21 por 3 veces y merge
group
26.-
Layer / arrange / move down
27.-
Vamos a ponerle una drop shadow a la copy 2
y 3 de la raster 1
yo
usé 20 20 80 60
28.-
Puse el blend mode de la layer donde tenemos
el paisaje en modo hard light
29.-
Merge visible
30.-
Aplicamos el filtro AAA Frames / fotoframe
por default con width en 28
31.-
Lo volvemos a aplicar ahora con width 12
32.-
Copy el tube de María José y paste as new
layer y acomodamos a la derecha
Le
ponen drop shadow con -15 -15 60 60
33.-
Layers / duplicate / layer arrange move down
34.-
Blur / Radial blur:
35.- Layer / duplicate / image / mirror
36.- Layer Merge down
37.- Blend mode de la layer en hard
ligth
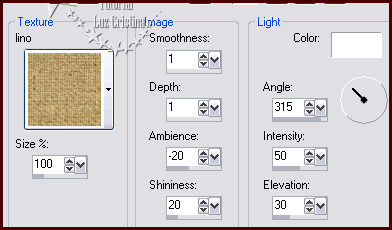
38.- Texture effects / texture:
Si no tienen la texture usen algo
parecido a su agrado
Pero por si quieren la mía les adjunto
39.- Acomodé el florero como as new
layer y usé la misma drop shadow
anterior
40.- Merge visible
Dejen volar su imaginación para crear
Arte
y belleza endulzado con Amor
...