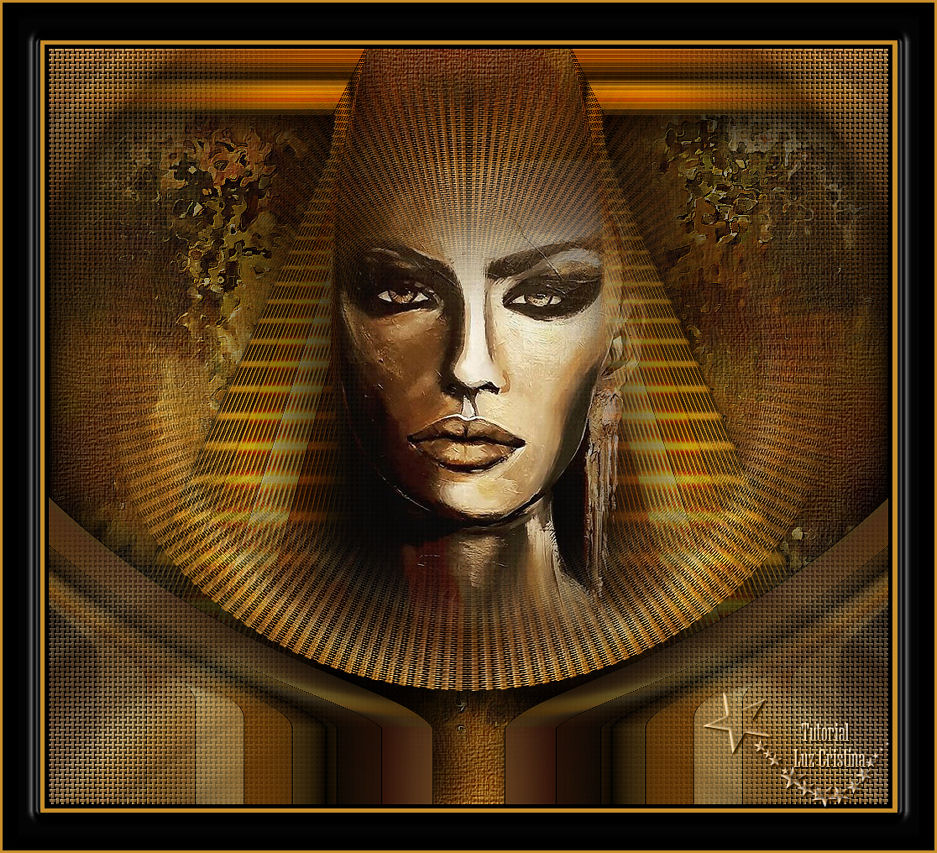
Anunnaki es una raza extraterrestre que se caracteriza por
tener sus cráneos alargados
Material:
Filtros:
Mehdi
Virtual Painter 4
FMTT
MuRas Seamless
Toadies
Mehdi2
1.- Creamos un pańo de 1000 X 900px
2.- Select all
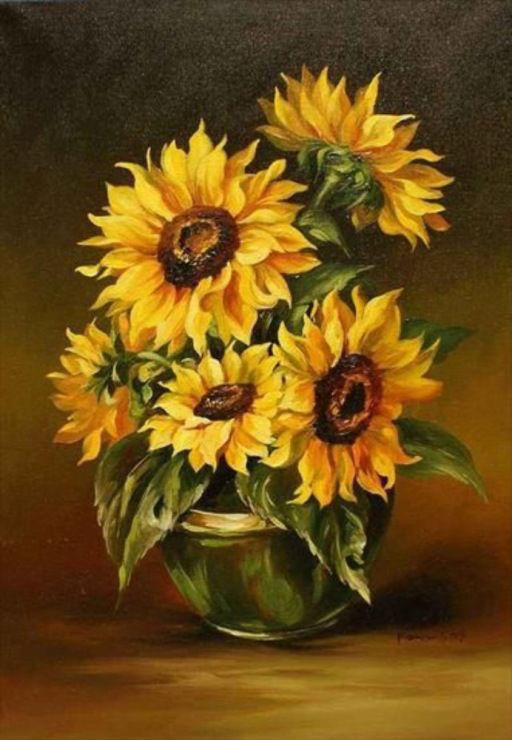
3.- Copy la imagen JPG, yo escogí está pero puede ser
cualquiera
que armonicen los colores de tu diseńo
Paste into selection. Selection none
4.- Seamless tiling por default
5.- Filtro Mehdi / melt 1.1 con 25 50 0
6.- Filtro Virtual painter 4
Con Oil pating y canvas fine en material
7.- Filtro FMTT / blend emboss
8.- Filtro MuRas seamless / stripe of cylinder por default
9.- Layers / duplicate
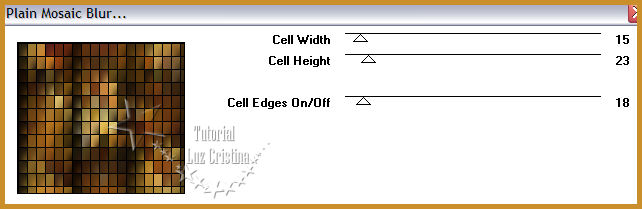
10.- Filtro Toadies / plain mosaic blur
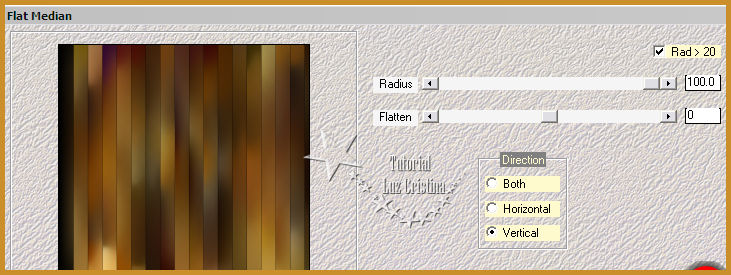
11.- Filtro Mehdi2 / flat median
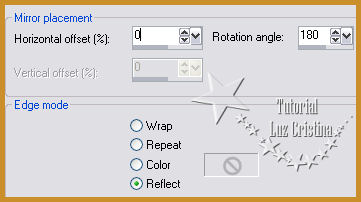
12.- Reflection effects / rotating mirror
13.- Filtro MuRas seamless / stripe of cylinder por
default
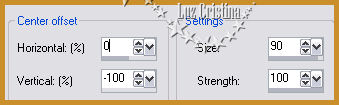
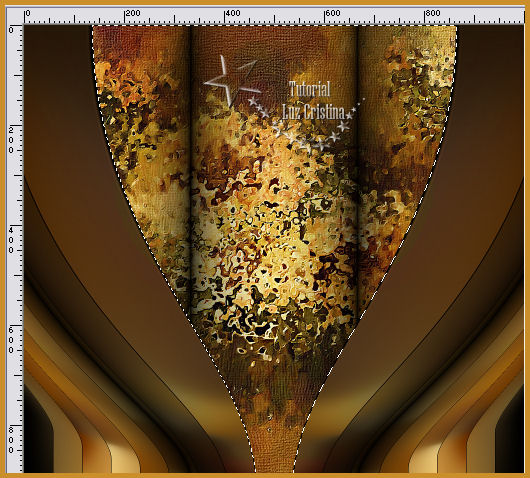
14.- Distortion effects / Warp
15.- Con la varita Mágica seleccionan el centro de la
figura y luego dan a la tecla delete
Selection none
16.- Repetir el paso 14 del warp
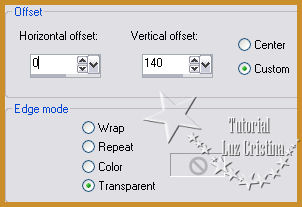
17.- Offset con 90 repeat
18.- Layers / duplicate
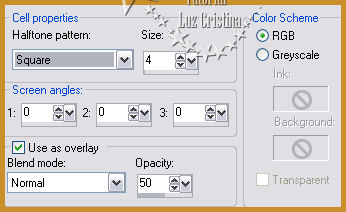
19.- Artistic effects / halftone
20.- Geometric effects / spherize con 100 elipse
21.- Image / flip
22.- Geometric effects / perspective vertical con 90
repeat
23.- Con su varita mágica seleccionan las partes negras y
dan a la tecla delete
Selection none
24.- Image / flip. Arrange move down
25.- Offset y filtro FMTT / saturation emboss
26.- Copy el misted del rostro paste as new layer / layers
/ arrange / bring to top
27.- Layers / duplicate
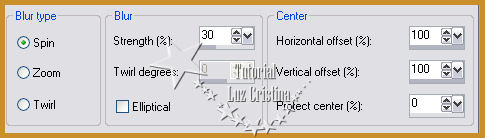
28.- Adjust / Blur / Radial blur
29.- Seamless tiling por default
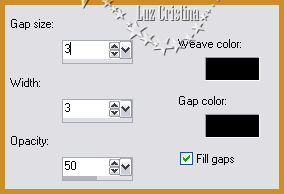
30.- Texture effects / weave
31.- Filtro FMTT / saturation emboss
32.- Layers / arrange move down
33.- Reflection effects / rotating mirror mismos valores
anteriores
34.- Layers / duplicate
35.- Distortion effects / polar coordinates / Rectangular
to polar transparente
36.- Resize solo esta layer en 90%
37.- Image / flip
38.- Offset con 90 transparente
39.- Drop shadow con 23 5 80 50
40.- Filtro FMTT / saturation emboss
41.- Apliquen una drop shadow en las raster layer a su
gusto
Los blend mode a su preferencia. Yo no cambié ningún
blend mode
42.- Image Add border con 5 simetryc en color negro
Add border con 5 simetryc en color #ca8f2b
Add border con 45 en color negro
Seleccionen el último border con su varita mágica
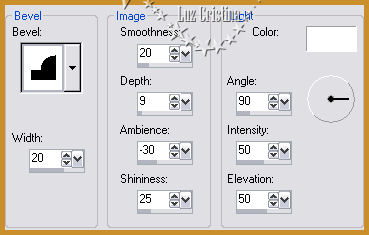
3D effects / inner bevel
43.- Reflection effects / rotating mirror mismos valores
anteriores
Selection none
Add border de 3px color #ca8f2b
44.- Resize en 84%
Y ahora muestra tu belleza de diseńo