1.- Creamos paño de
1000 X 900 px
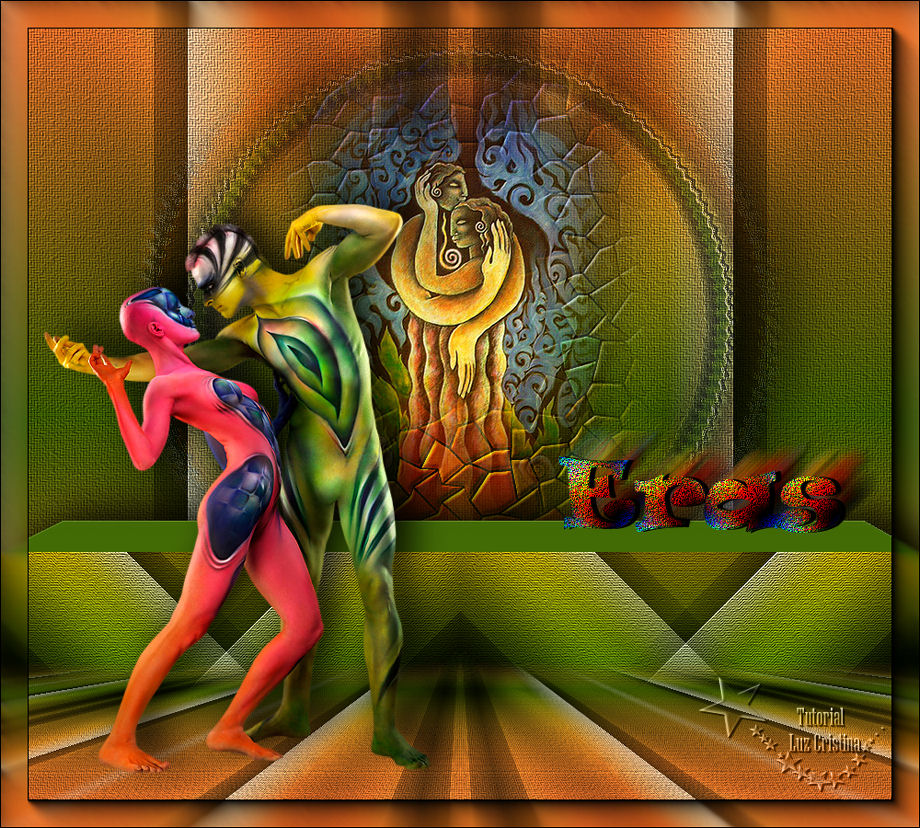
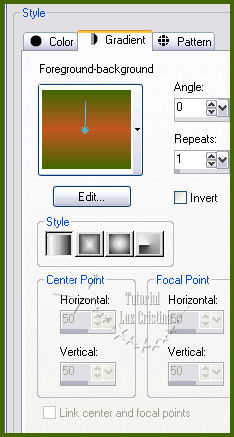
2.- Paleta de colores
foreground #436602 background #c25824
Vamos a formar un
gradiente linear y pintar el paño con
el
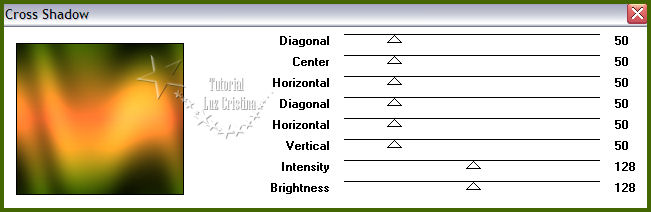
3.- Filtro Graphics
plus / Cross shadow
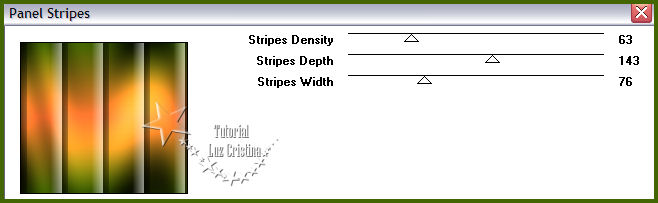
4.- Filtro Graphics
Plus / Panel stripes
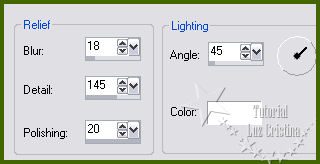
5.- Texture effects /
texture
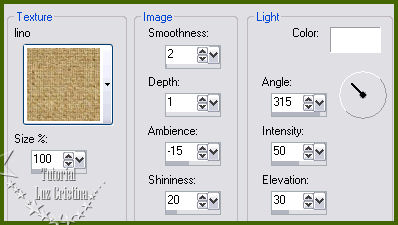
6.- Adjust / sharpness
/ sharpen
7.- Filtro Graphics
plus / Quick tile II / con 0 en todo
8.- Layers / duplicate
9.- Cierren la raster
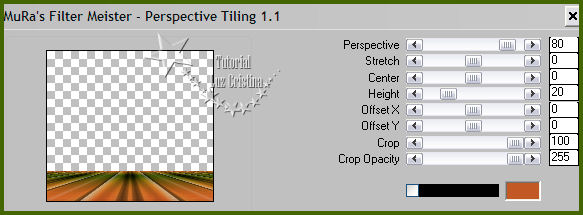
1 y parados en la copy vamos al filtro
Muras M. Perspective
10.- Seleccionamos la
parte transparente con la varita mágica
con 30 en feather
Damos a la tecla
delete unas 5 veces y selection none.
Abran su raster 1
11.- Parados en la
raster 1 vamos a layers / duplicate
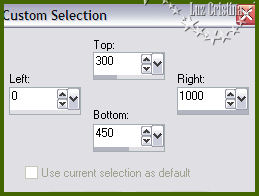
12.- Herramienta
Selection / custom selection
13.- Selections /
invert y damos a la tecla delete.
Selection none
14.- Geometrics
effects / Skew

15.- Reflection
effects / rotating mirror con 0
180 reflect
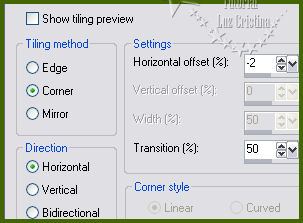
16.- Seamless tiling
17.- Offset
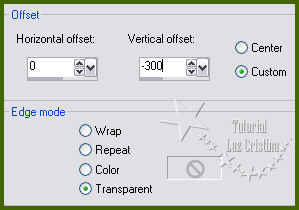
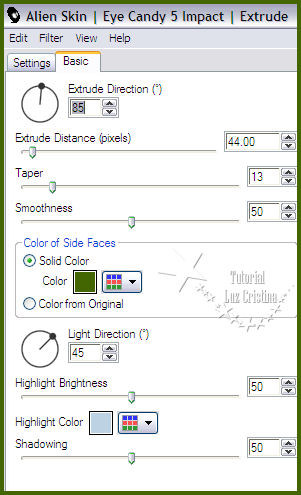
18.- Filtro Eye candy5
/Impact / extrude
19.- Drop shadow con
-13 20 80 50
20.- Filtro FMTT /
saturation emboss
21.- Vamos a pararnos
en la copy of raster 1, donde está el
piso
22.- Layers /
duplicate
23.- Image / flip
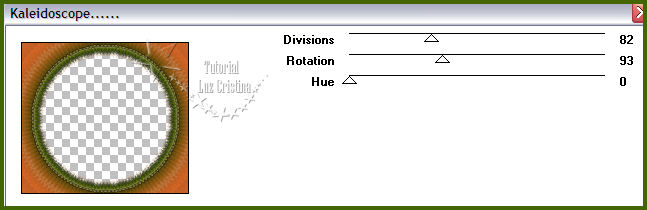
24.- Filtro VM
Distortion / kaleidoscope
25.- Resize solo esta
layer en 70%
26.- Masck 20 20
aplicar y merge group. Blend mode de la
layer en hard light
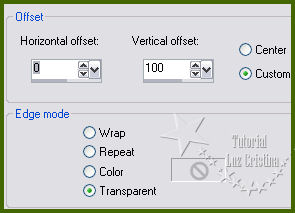
27.- Offset
28.- Layers / arrange
move down / arrange move down
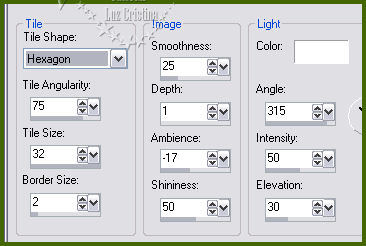
29.- Texture effects /
Polished Stone
30.- Drop shadow la
misma anterior....Adjust / sharpness /
sharpen
31.- Copy el tube de
Luz Cristina y paste as new layer. Lo
ponen en el centro del círculo
32.- Layers /
duplicate / arrange move down
33.- Texture effects /
Tiles
34.- Resize solo esta
layer en 110%. Blend mode de la layer en
Hard light. (Opcional)
35.- Vamos al misted
original y resize solo esta layer en
90%
36.- Copy el tube de
Syl y paste as new layer. Esta layer nos
quedará arriba de todas
37.- Aplique la misma
drop shadow
38.- Copy el texto y
paste as new layer
39.- Merge visible
40.- Filtro AAA Frames
/ fotoframe por default con width en 30
41.- Resize en 92%
(Opcional)