|
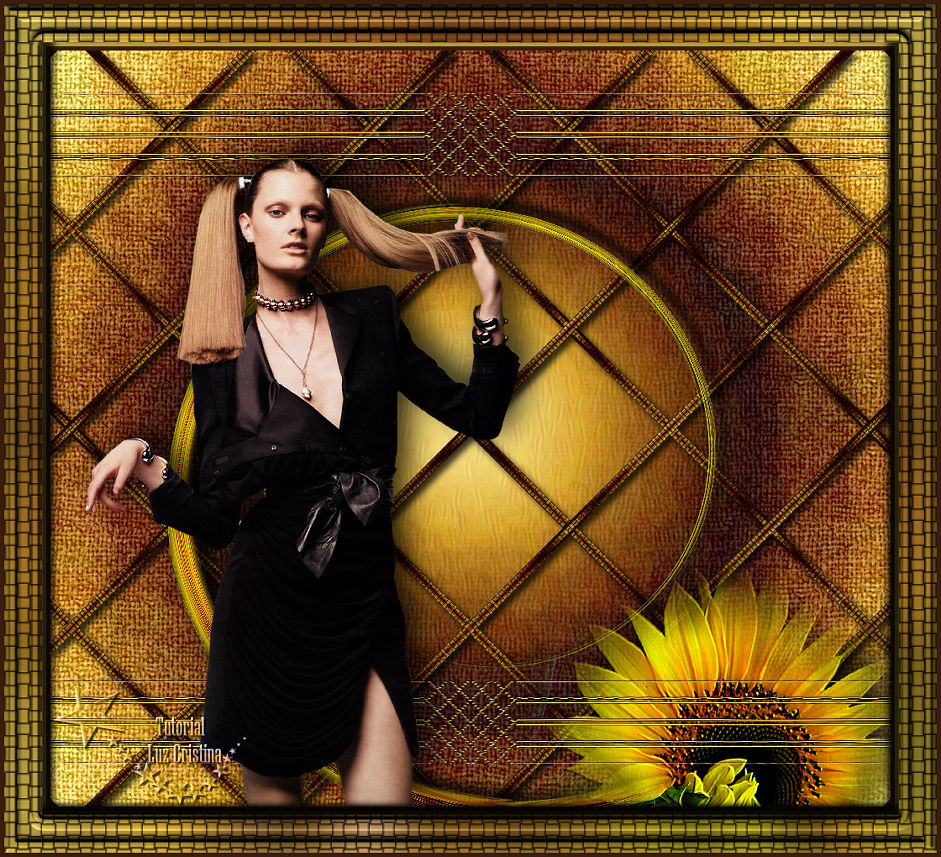
Tutorial Girasol
Material:
Dos Tubes
Pattern Gold
Filtros :
Virtual painter4
Graphics plus
Simple
FMTT
Bajar
Tutorial
Imprimir
Tutorial
1.-
Abrir un pańo de 1000 X 900px
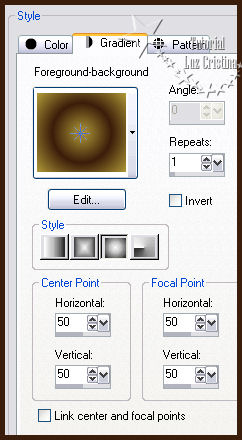
2.- Paleta de colores foreground #b29a38
background #3a1d0a
formar un gradiente sunburst así y pinta su
pańo
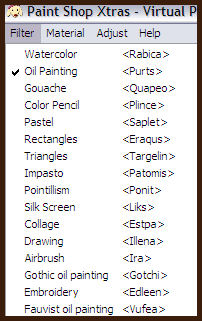
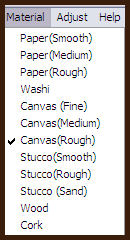
3.- Filtro Virtual painter4
4.- Geometric effects / perspective
horizontal con 90 transparente
5.- Image / mirror y repetir el paso 4
6.- Distortion effects / pinch con 100
aplicar dos veces
7.- Filtro Graphics plus / weaver con 15 57
8.- Edge effects / erode
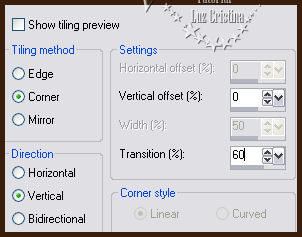
9.- Seamless tiling
10.- Filtro Simple / zoom out and flip
11.- Filtro Simple / diamonds
12.- Layers / duplicate / image / mirror /
Merge down
13.- Drop shadow con 5 5 80 11
14.- Layers / duplicate
15.- Geometrics effects / perspective
vertical con 90 repeat
16.- Image / flip y repite el paso anterior
17.- Geometrics effects perspective
horizontal 90 transparente
18.- Image / mirror
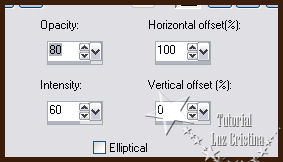
19.- Reflection effects / feedback
20.- Geometrics effects perspective
horizontal 90 transparente
21.- Reflection effects / rotating mirror
con 0 180 reflect
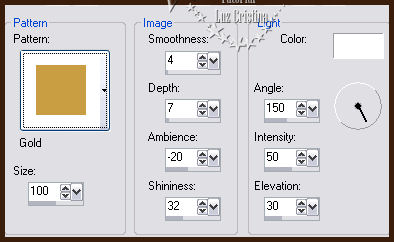
22.- Texture effects / sculpture. (va el
pattern adjunto)
23.- Sharpness / sharpen more
24.- Drop shadow con 1 1 80 1
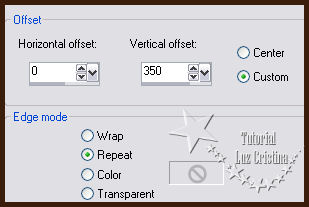
25.- Offset
26.- Filtro Simple / top left mirror
27.- Copy el tube de la mujer y paste as new
layer
28.- Drop shadow con -11 14 80 50
29.- Copy el tube del girasol y paste as new
layer, lo pones abajo de la raster de los
hilos dorados
30.- Poner la misma drop shadow anterior y
aplica emboss 3
31.- Layers / duplicate / layers / arrange
move down
32.- Distortion effects / twirl con 720
ponerlo 2 veces
33.- Filtro FMTT / blend emboss
34.- Drop shadow con -11 14 80 11
35.- Image Add border con 5px. symetryc
color oscuro
add border de 5px color claro
Copy tu diseńo
add border de 45px. color oscuro
36.- Selecciona el último border y paste
into selection tu diseńo
37.- Gaussian blur con 30
37.- Filtro Graphics plus / weaver con 15 57
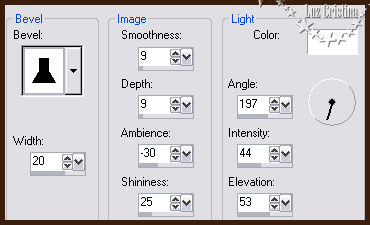
38.- 3D effects / inner bevel
39.- Drop shadow -11 14 80 11
Drop shadow con -11 -14 80 11
Selection none
Add border 5px color oscuro
40.- Resize en 84%
Sean Felices !!!
Mis besitos amorosos como
siempre
!!!
Luz Cristina
"Soy feliz porque hago lo que me
gusta hacer"
Créditos:
Tutorial Girasol
28 de mayo del
2020
Mexicali Baja California México
Tubes: Propios
WebMaster NC

|