1.- Crear un pańo de 1000 X 900px.
2.- Paleta de colores en foreground #ddb20a background #2d2617 formar
un gradiente linear con angle 0 repeats 0
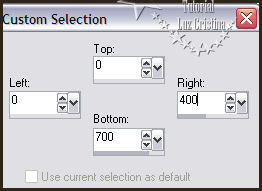
3.- Herramienta selection tool / custom selection, o clic a la letra S
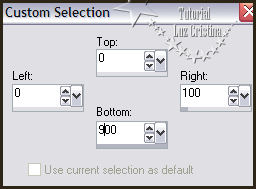
Pintan su selection con el gradiente
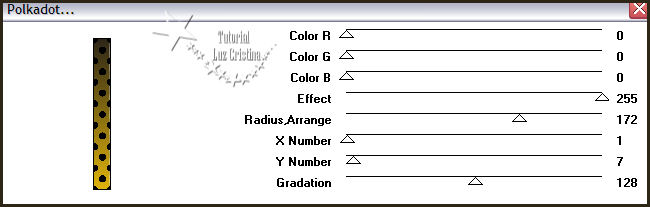
4.- Filtro Muras seamless / Polkadot
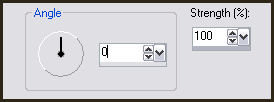
5.- Adjust / blur / motion blur
6.- User defined filter / emboss 3.
Selection none
7.- Edit / copy
8.- Herramienta selection tool / custom selection o clic a la letra S
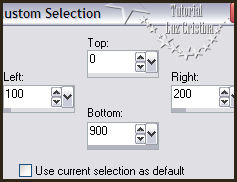
Pintar la selection con el mismo gradiente
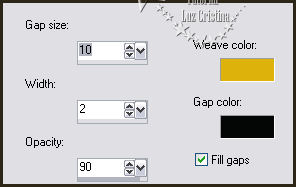
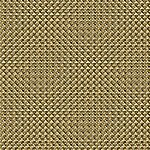
9.- Texture effects / weave mismos colores de la paleta de colores
10.- Repetir el paso 5 del motion blur
11.- Emboss 3. Selection none
12. Paste as new layer la copy de la primera parte y acomodan a que les quede
así:

13.- Merge visible
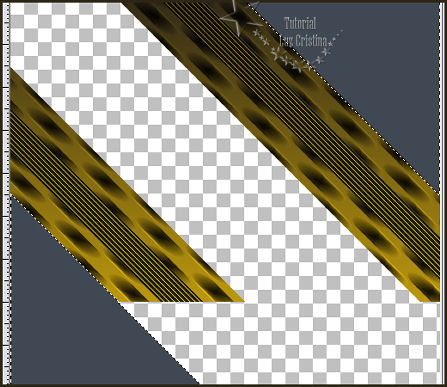
14.- Herramienta selection tool / custom selection o clic a la letra S
Selections / invert. Tecla delete. Selection none
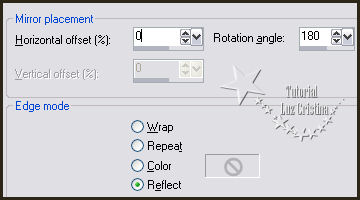
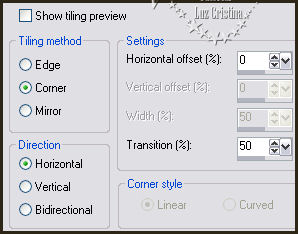
15.- Reflection effects / rotating mirror
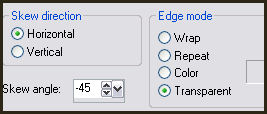
16.- Geometric effect / skew
17.- Selecionan las partes grises que se formaron y tecla delete, selection none
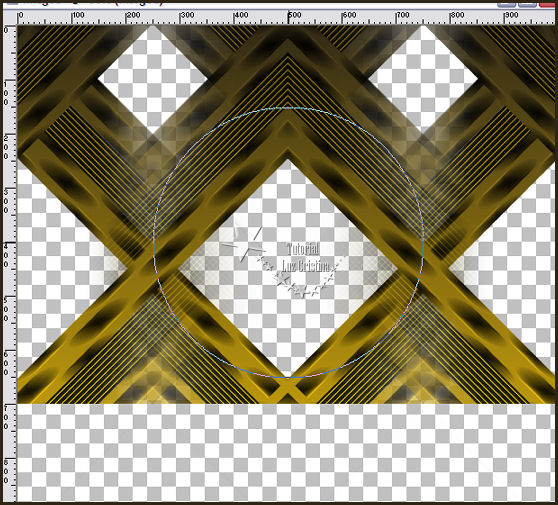
18.- Seamless tiling
19.- Layers / duplicate / image mirror / merge visible
20.- Rotating mirror mismos valores anteriores
21.- Herrmienta Warp brush así


Usando las reglas del pańo nos paramos
en los 500 X 400px presionamos clic izquierdo y esperar pare la herramienta
22.- Filtro Muras M. / Copies
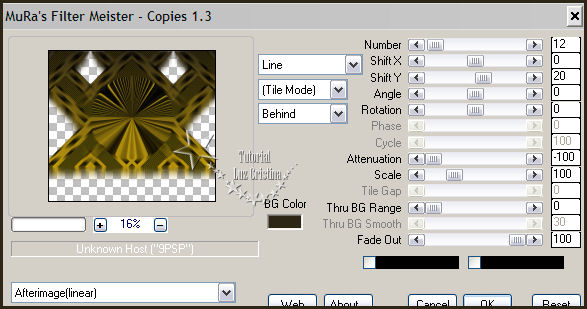
23.- Drop shadow con -5 25 80 70
24.- New raster layer arrange send to bottom
Pintar con el gradiente linear con angle 0 repeats 1 mismos colores
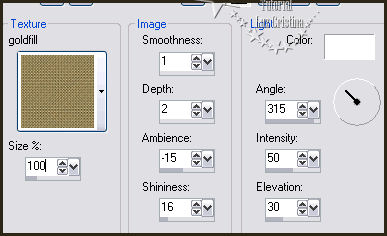
25.- Texture effects / texture
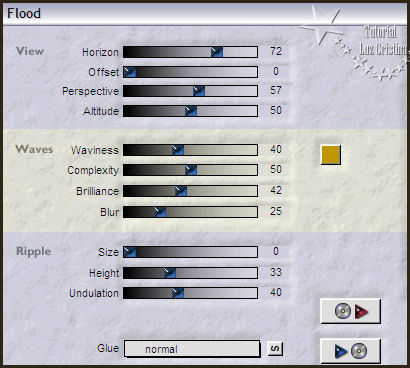
26.- Filtro Flood tiene el mismo color de su paleta en foreground
27.- Copy el tube y as new layer y acomode
28.- Puse la misma drop shadow
29.- Layers / duplicate
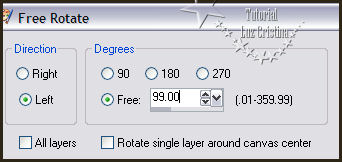
30.- Image / rotate / free rotate
31.- Arrange move down
31.- Resize al 90% solo esta layer. Acomode parezca el reflejo
Bajar la opacidad de la raster en 30
32.- Puse el blend mode de la layer de merged en hard light pero es opcional
Las flores también es opcional pueden poner las que mas les gusten
33.- Add borders symmetric de 3 px. color oscuro
34.- Add borders symmetric de 3 px. color claro
35.- Add Borders symmetric de 35 px. color oscuro
36.- Seleccionan el borde último con la varita mágica
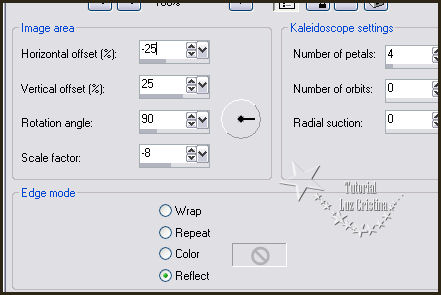
37.- Reflection effects / kaleidoscope
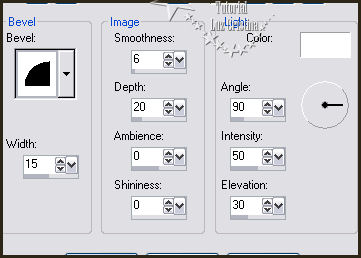
38.- 3D effects / Inner Bevel
39.- Filtro FMTT / blend emboss. Selection none ...
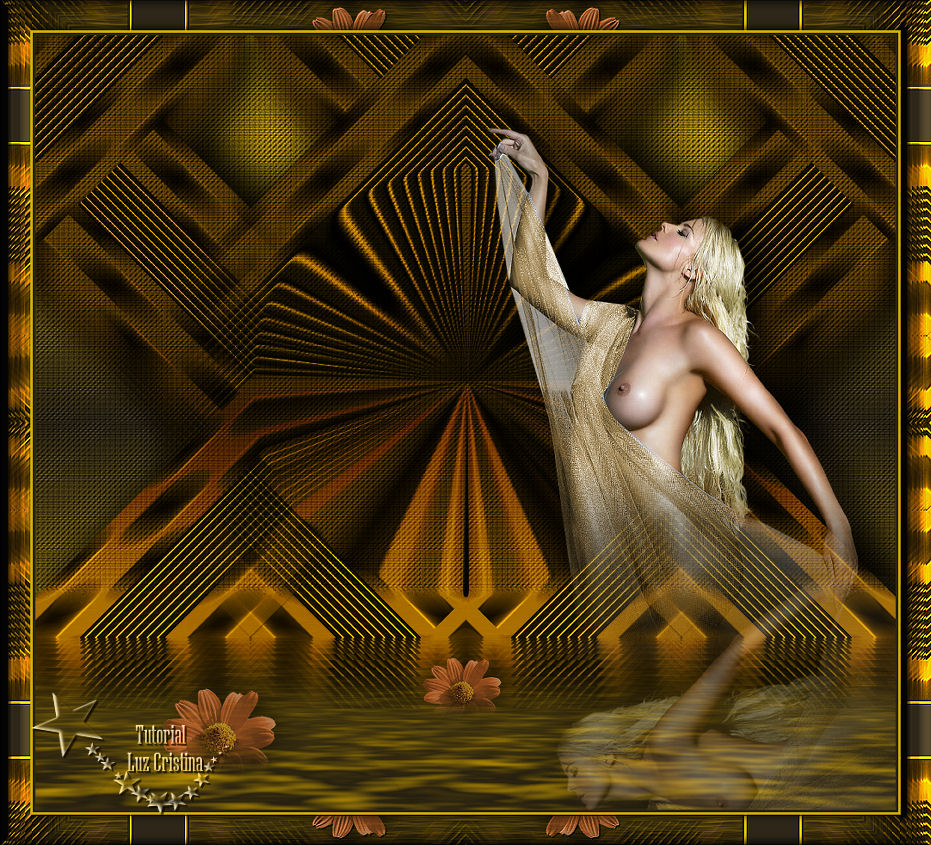
40.- Resize a 86% o a su gusto
Mis besitos amorosos como
siempre
!!!
Luz Cristina
"Soy feliz porque hago lo que me
gusta hacer"
Créditos:
Tutorial Malviné
20 de Junio del 2019
Mexicali Baja California, México.
Tubes: MM designz, LM.