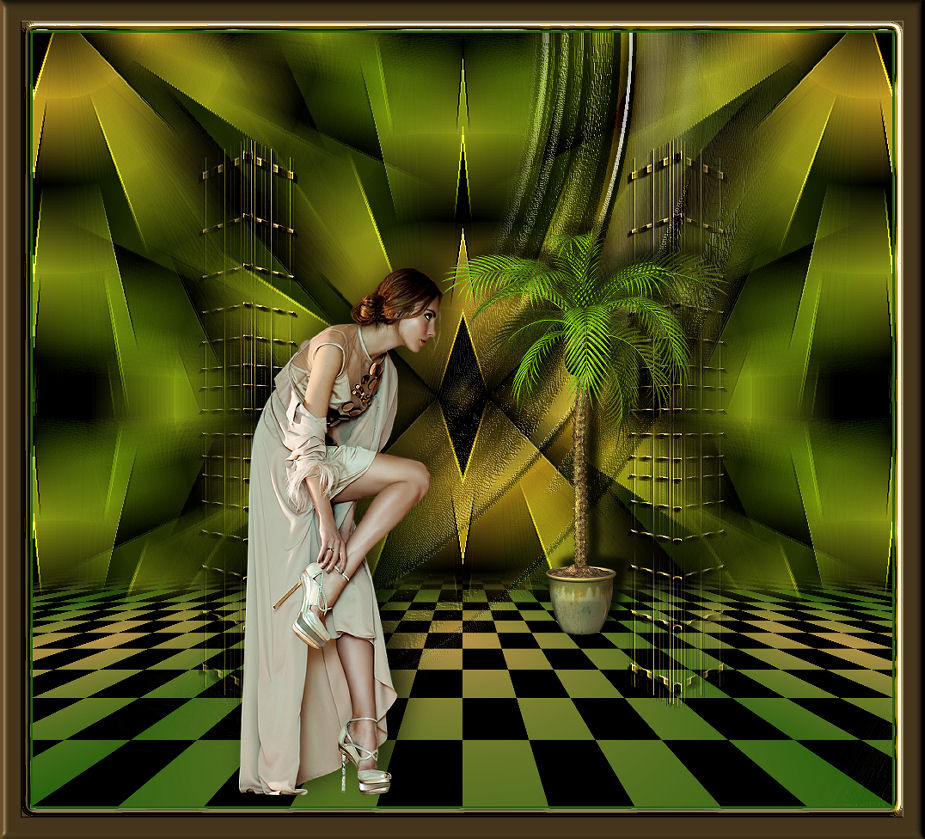
Tutorial
"Renée"
Material:
Dos Tubes
Patterns
Gold
Filtros:
L en K
Muras Perspective
Bkg designer sf 10 III
FMTT
Instant Art
Transparency
Simple
Andrómeda Perspective
1.- Crear un pańo de 1000 X 900px
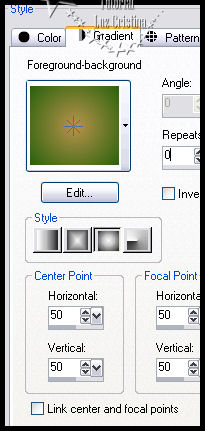
2.- Paleta de colores foreground #b8934a
background #28620d
vamos a formar un gradiente sunburst y
pintas el pańo
3.- Filtro L en K / L en K's Pia con 100.
4.-Layers / duplicate.
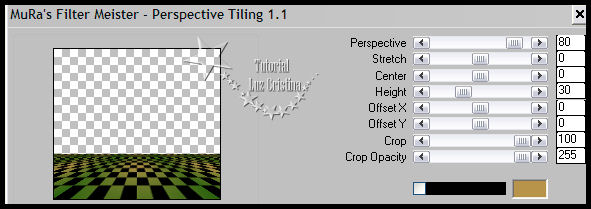
5.- Filtro Muras M. perspective tiling.
6.- Cierren su raster 1, en la copy, con la
varita mágica con feather en 35
seleccionamos la parte transparente y damos
a la tecla delete varias veces
para difuminar la orilla. Selection none y
abren su raster 1.
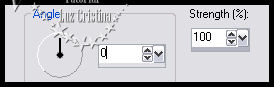
7.- Nos paramos en la raster 1 y vamos a
blur / motion blur.
8.- Filtro Bkg designer sf 10 III / Splash

9.- Filtro FMTT / saturation emboss.
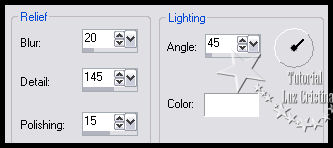
10.- User defined filter / emboss 3.
11.- Reflection effects / rotating mirror
con 0 180 reflect.
12.- Seamless tiling.
13.- New raster layer / arrange bring to top
y pintar con el mismo gradiente.
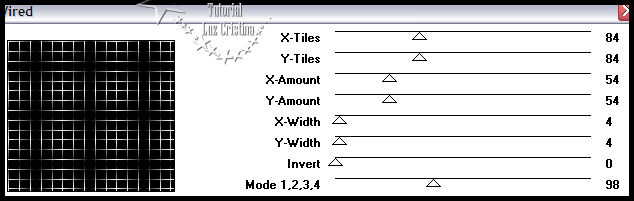
14.- Filtro Instant art / wired.
15.- Filtro Transparency / eliminate black.
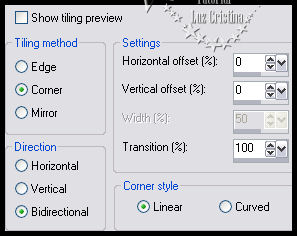
16.- Geometric effects / perspective
vertical -75 transparente.
Image / flip / aplicar de nuevo el paso
anterior del perspective.
17.- Filtro Simple / top left mirror.
18.- Distortion effects / pinch con 100.
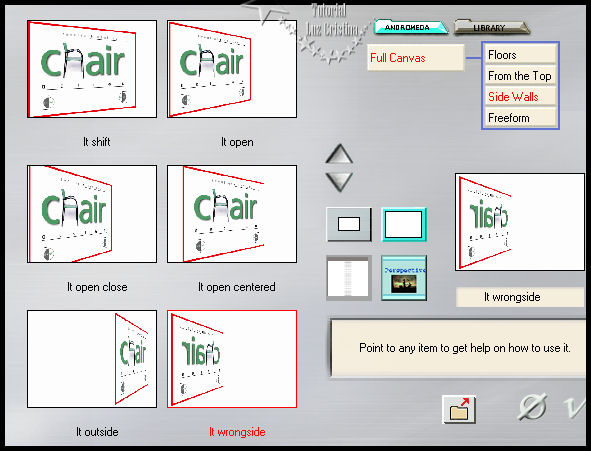
19.- Filtro Andrómeda / perspective.
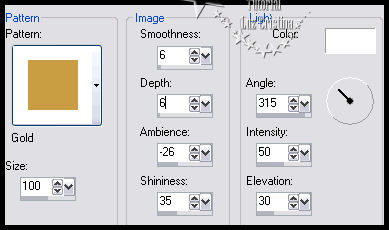
20.- Texture effects / sculpture.
21.- Drop shadow con 2 2 80 1
22.- Adjust / sharpnes / sharpen more
23.- Layers / duplicate / image / mirror
24.- Layers / Merge down
25.- Layers / duplicate
26.- Seamless tiling

27.- Layers / merge down
28.- Adjust / sharpnes / sharpen
29.- Copy el tube de Tocha y paste as new
layer
Acomode
30.- Layers / duplicate el tube Tocha /
arrange move down
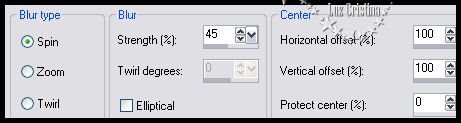
31.- Blur / Radial blur
32.- Image / mirror / image / flip-
33.- Texture effects / Polished stone
34.- Puse el blend mode de esta layer en
hard light y bajé la opacidad
a 76. En sus libres la figura puede variar
de acuerdo al tube
que estén usando.
35.- Acomodan la planta y acomodan esta
layer va arriba de todas.
Drop shadow con -13 15 80 11.
36 Vamos a poner drop shadow al tube de
Tocha con
-13 15 80 50.
37.- Image / add border con 3px. color
oscuro.
38.- Image / add border de 35 color claro.
39.- Seleccionamos el borde con la varita
mágica con feather en 0.
Vamos a repetir el paso 33 del polished
stone.
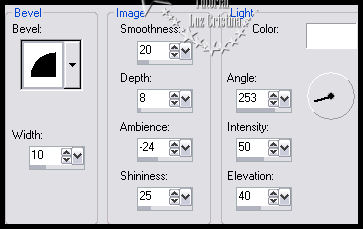
40.- 3D effects / inner bevel.
41.- Selection none
Resize en 86% o a su
gusto
Espero que se diviertan mucho
Sean Felices
!!!