0
Tutorial Silvana
Material:
Un Tube
U
n Deco
Filtros:
Unlimited2
Mehdi
FMTT
VM Instan Art
Muras M. Copies
AAA Frames
Bajar Tutorial
Imprimir Tutorial
1.- Crear un pańo de 1000 X 900px
2.- Paleta de colores foreground #d5a8b6 background #5d1625
formar un gradiante sunburs y pintar su pańo
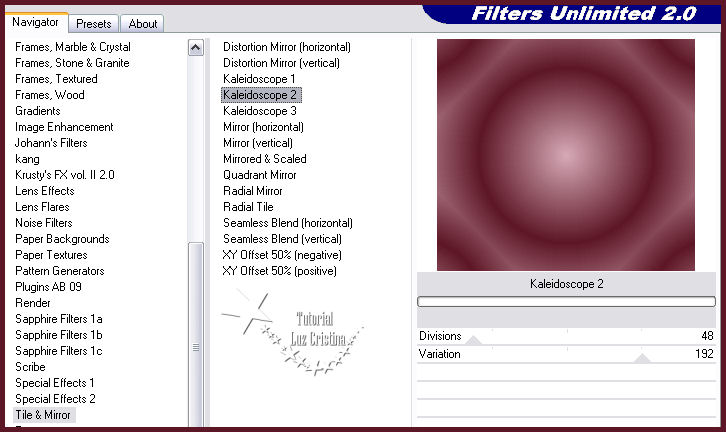
3.- Filtro Unlimited 2 / tile & mirror
4.-Select all / copy el tube y paste into selection / selection none
5.- Seamless tiling por default
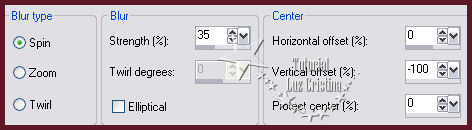
6.- Blur / radial blur
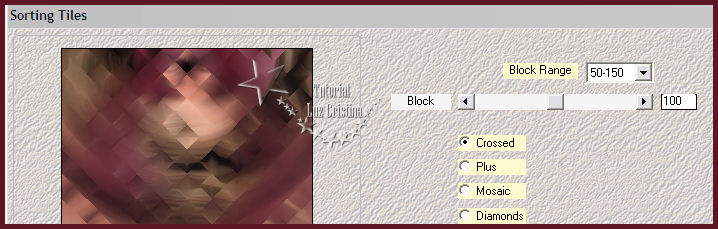
7.- Filtro Mehdi / sorting tiles
8.- Geometric effects / perspective vertical con 90 repeat
9.- Image /mirror
10.- Reflection effects / rotating mirror con 0 180 reflect
11.- Filtro FMTT / saturation emboss. (opcional)
12.- Edge effects / erode (opcional en sus libres)
13.- Layers / duplicate
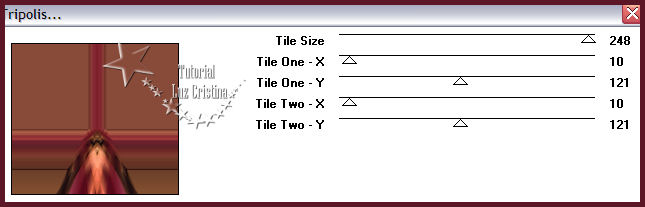
14.- Filtro VM Instant art / tripolis
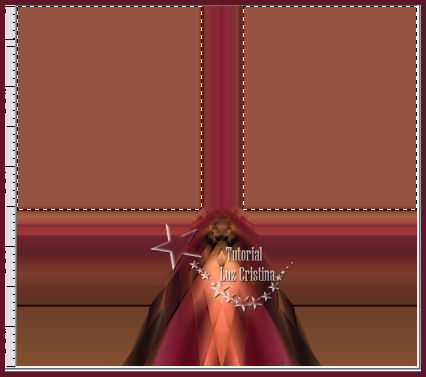
15.- Seleccionamos con la varita mágica los lados y tecla delete
Selection none
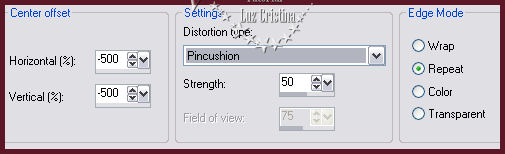
16.- Distortion effects / lens distortion
17.- Reflection effects / rotating mirror con 0 180 reflect
18.- Geometric effects / pentagon / repeat
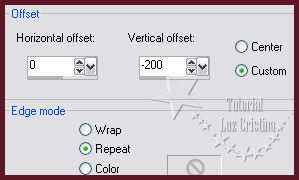
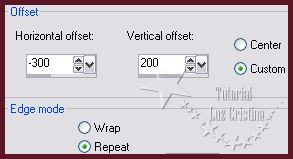
19.- Offset
20.-Drop shadow -14 14 80 60
21.- Copy el deco y paste as new layer
22.- Repetir el paso 19 del offset
23.- Layers / duplicate
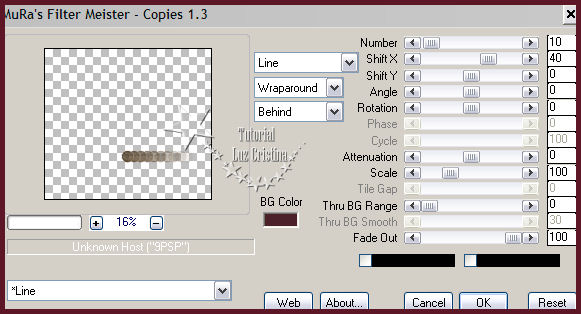
24.- Filtro Muras M. Copies
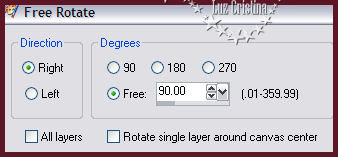
25.- Image / rotate / free rotate
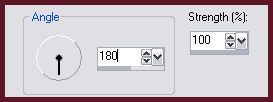
26.- Blur / motion blur por 2 veces
27.- Herramienta Sharpen brush
Vamos a pasarle por la figura dando unos clic en ella
que se resalte la textura pero no mucho
28.- Layers arrange move down. Layers arrange move down
29.- Offset
Les quedará así:
29.- Layers / duplicate / Image / mirror
Layers / merge down
30.- Blend mode de la raster layer en overlay o en soft light la que les guste
31.- Seamless tiling por default
32.- Layers / duplicate
33.- Geometric effects / skew con horizontal -45 repeat
34.- Distortion effects / polar coordinates / Rectangular to polar transparente
Blend mode en screen o la que les guste
35.- Puse la misma drop shadow en la raster anterior la copy de raster 2
36.- Merge visible.
37.- Filtro AAA frames / fotoframe por default. Con width en 30
Lo volvemos a aplicar con width en 15
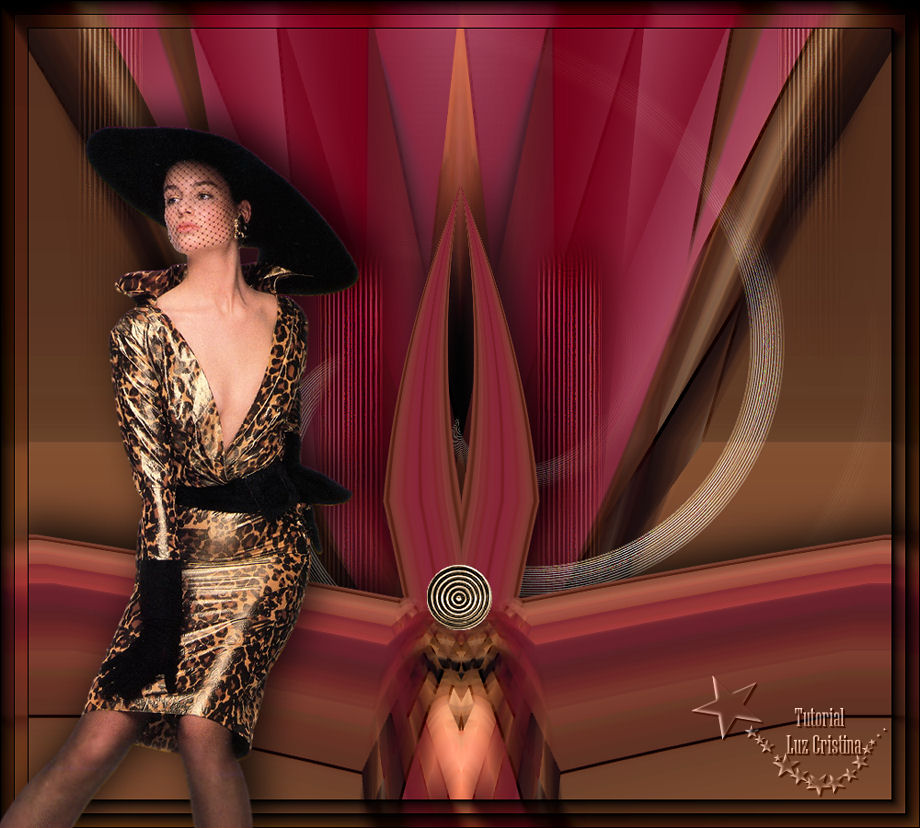
38.- Copy el tube de Cady y paste as new layer, le redimensionan, acomodan
apliquen la misma drop shadow
Redimensioné en 92% para tag, para top dejan el mismo tamańo
39.- Merge visible
Mis besitos amorosos como siempre
!!!
Luz Cristina
"Soy feliz porque hago lo que me gusta hacer"
Créditos:
Tutorial
Silvana
22
de
Octubre
de
l
2019
Mexicali Baja California México
Tubes:
Cady
WebMaster
NC
Volver