|
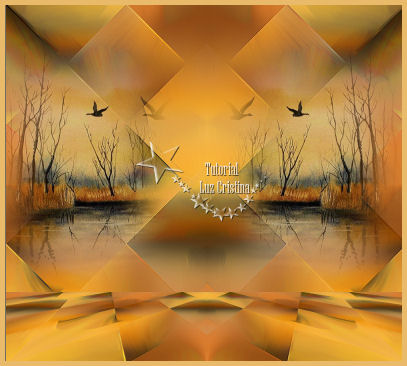
Tutorial
Sylviane
Van
Material:
Filtros:
Mehdi
FMTT
Muras M. Copies y Perspective
1.- .- Creamos un pańo de
1000 X 900px
2.- Paleta de colores foreground #e8a567 background #442210
formar un gradiente linear con angle en 45 repeats 0 y pintas el
pańo
3.- Select all / copy el misted y paste into selection. Selection none
4.- Seamless tiling por default
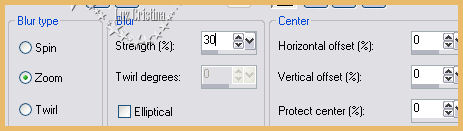
5.- Blur / radial blur
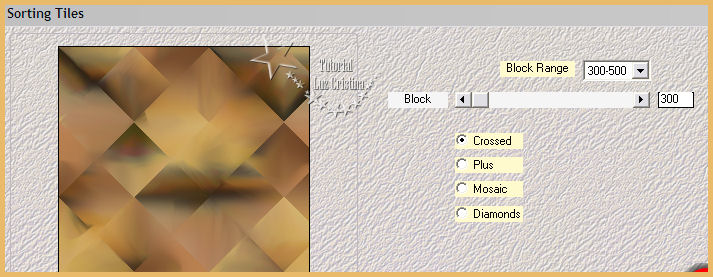
6.- Filtro Mehdi / sorting tiles
7.- Reflection effects / rotating mirror con 0 180 reflect
8.-User defined filter / emboss 3
9.- Filtro FMTT / saturation emboss
10.- Layers / duplicate
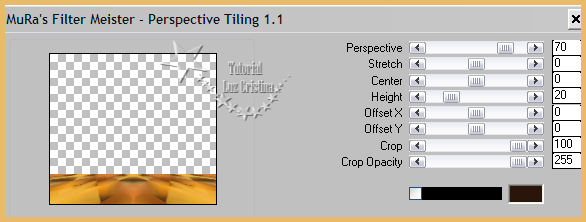
11.- Filtro Muras M. perspective tiling
12.- Copy el misted y paste as new layer / moverlo a la izquierda
13.- Reflection effects / rotating mirror con 0 180 reflect
14.- Vamos a la raster 1 / layers / duplicate
15.- Geometric effects / perspective vertical -95 transparente
16.- Layers / arrange / bring to top
17.- Distortion effects / pinch con 100
18.- Drop shadow con -7 -24 80 60
19.- Reflection effects / rotating mirror con 0 180 reflect
20.- Vamos a cerrar todas las raster layer, solo dejamos abierta la
raster 1 vamos a trabajar en ella
21.- Layers / duplicate
22.- Geometric effects / perspective vertical -95 transparente
23.- Image / flip
24.- Repetir el paso anterior para formar una barra
25.- Distortion effects / pinch con 100
26.- Layers / duplicate
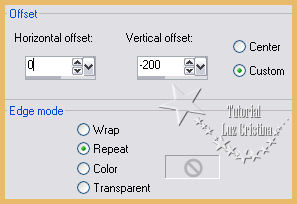
27.- Image effects / offset
Horizontal 100 vertical 0 repeat
28.- Layers / merge / merge down
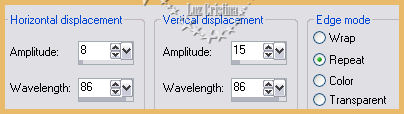
29.- Distortion effects / wave
30.- Cierren su raster 1
31.- Tocamos con la varita mágica el centro de la figura para
selecionar
Pinten con el mismo gradiente
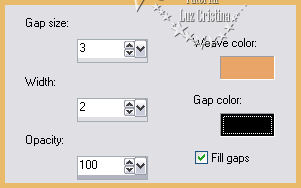
32.- Texture effects / weave
33.- Selection none
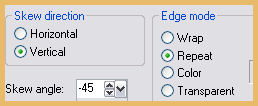
34.- Geometrics effects / skew aplicarlo 2 veces
35.- Seamless Tiling por default
36.- Resize solo esta layer en 80%
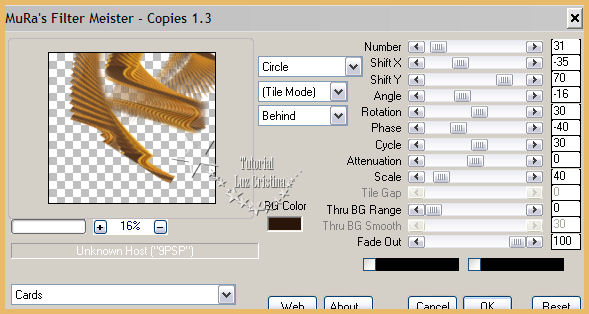
37.- Filtro Muras M. Copies
38.-Reflection effects / rotating mirror con 0 180 reflect
39.- Drop shadow igual que lo hicieron en el paso 18 y 19
40.- Layers / arrange bring to top
41.- Adjust / sharpness / sharpen
42.- Bajamos a la copy of raster 1 donde tenemos el efecto del
perspective vertical
aplicamos offset
43.- Image / add border simetryc con 5px color oscuro
add border 5px color claro
add border 45px color oscuro
Seleccionar el último border / repetir el paso 32 de texture / weave
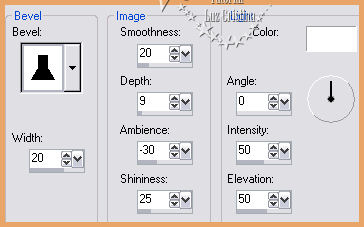
44.- 3D effects / inner bevel
45.- Resize en 85%
46.- Copy su tube y paste as new layer, ponga una drop shadow a su
gusto
47.- Merge visible
Ahora muéstrame tu diseńo
Mis besitos amorosos como siempre
!!!
Luz Cristina
"Soy feliz porque hago lo que me
gusta hacer"
Créditos:
Tutorial Sylvine Van de Luz Cristina
20 de Agosto
de 2020
Mexicali Baja California
México
Tubes
Propios
WebMaster NC
|