1.-
Crear un pańo de 1000 X 900px
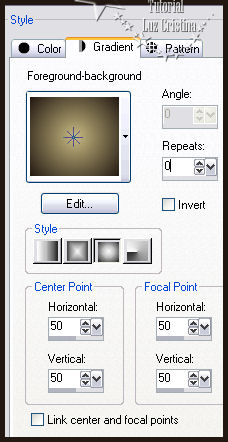
2.- Paleta de colores foreground #c8ba82
background #221811
formar un gradiente sunburst y pintar el
pańo
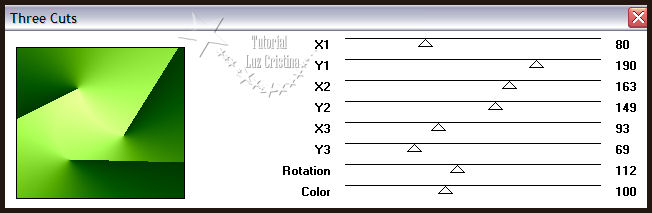
3.-
Filtro VM instant art / Three cuts
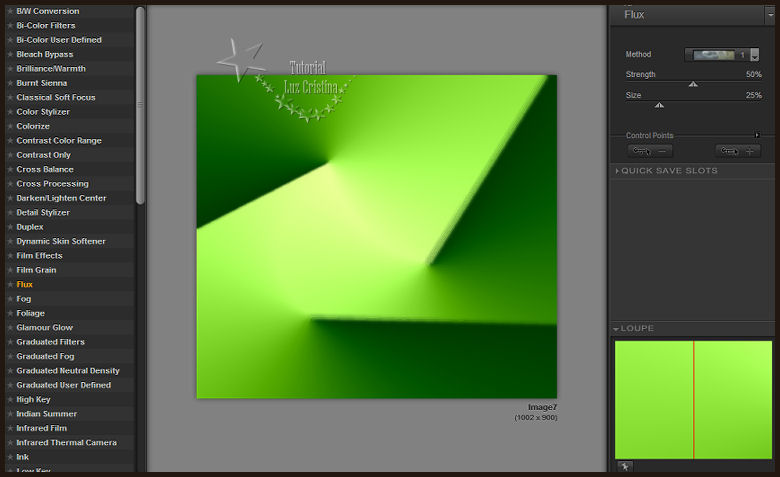
4.- Filtro Nik sofware /color efect pro3 /
flux, aplicarlo 2 veces
5.-
New raster layer. Pintar mismo gradiente /
layers / arrange send bottom
6.- La raster 1 ponemos el blend mode en
luminace legacy
7.- Add noise / noise / con 25 uniforme mono
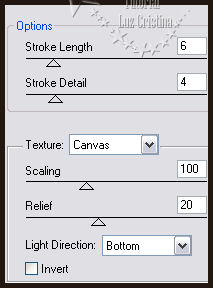
8.- Filtro Artistic / rough pastel
9.- Filtro FMTT / blend emboss
10.- Merge visible
11.- Copy su pańo
12.- Crear un pańo de 150 X 900px. Select
all
13.- Paste into selection el pańo. Selection
none
14.- Configurar la herramienta eraser tool
así

15.-
Vamos a pasar la herramienta de arriba hacia
abajo
con clic sostenido
Tomará esta figura

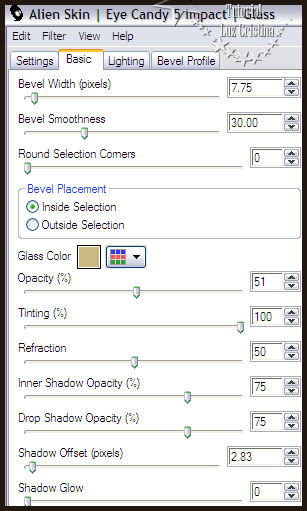
16.- Filtro Eye candy 5 / Impact / glass
17.- Drop shadow con 2 2 80 1
18.- Copy la imagen y paste as new layer en
su pańo grande
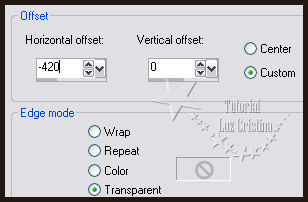
19.- Offset
20.- Layers / duplicate / image / mirror
21.- Layers / Merge down
22.- Layers duplicate
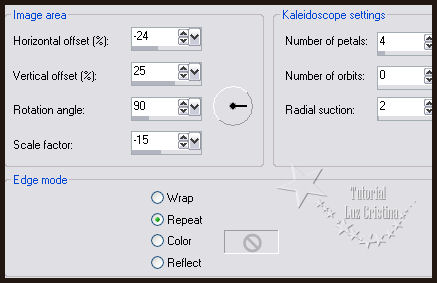
23.- Reflection effects / kaleidoscope
24.-
User defined filter / emboss 3
25.- Drop shadow 10 10 80 15
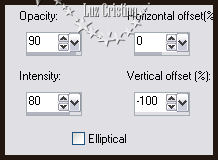
26.- Reflection effects / feedback
27.- Filtro Simple / top left mirror
28.- Copy el misted de Guismo y paste as new
layer
Arrange / move down / arrange move down
Lo suben un poco como en mi ejemplo
29.- Filtro Artistic / rough pastel. Igual
que el paso 8
30.- Blend mode de la raster 1 en hard light
o a su gusto
31.- Copy el tube de Colybrix y paste as new
layer y acomodan
32.- Drop shadow -12 17 80 55
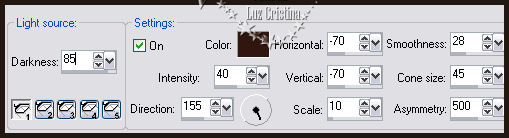
33.- Vamos a la layer de Merged /
ilumination effects / lights
Tiene el mismo color de su background
34.-
Image / add border de 3 px simétrico del
color oscuro
35.- Image / add border de 35 px. simétrico
color claro
36.- Seleccione el borde con su varita
mágica
37.- Add noise / noise / con 25 uniforme
mono
38.- Repetir el paso 8 del filtro Artistic
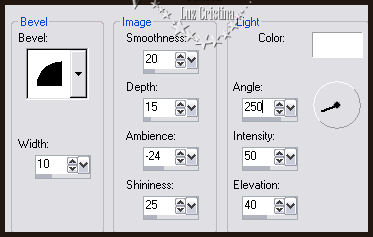
39.- 3D effects / Inner bevel
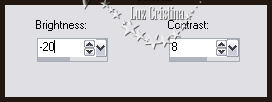
40.- Adjust / Brightness and contrast /
brightness contrast
aplicarlo 3 veces
41.- Selection none
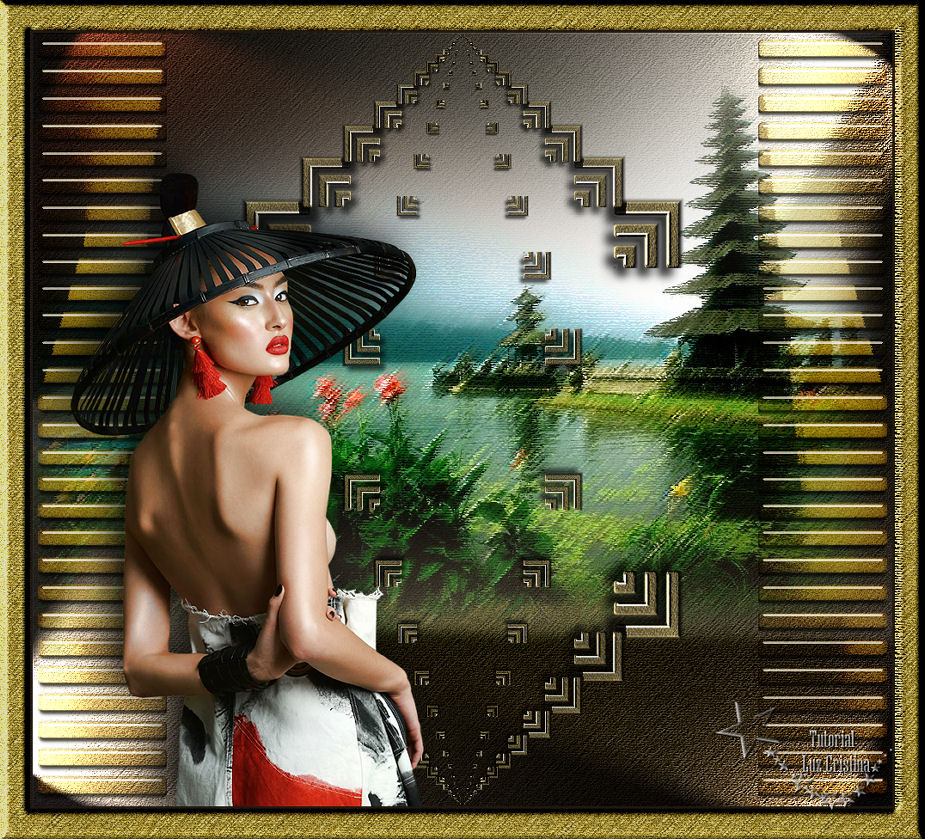
42.- Resize en 86% o a su gusto
Sean Felices !!!
Mis besitos amorosos como
siempre
!!!
Luz Cristina
"Soy feliz porque hago lo que me
gusta hacer"
Créditos:
Tutorial "Tatty"
5 de abril del 2019
Mexicali Baja California México
Tubes: Colybrix y Guismo
WebMaster NC
