Usa la
Flechita
para Seguir el Tutorial
1.- Abrir un paño de 1000 X 900px
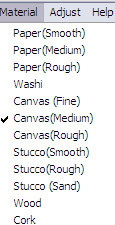
2.- Paleta de colores foreground #b1ab99 background #34312a
formar un gradiente linear con angle 0 repeats 0 pintas tu paño.
3.- New raster layer / herramienta selection tool / custom selection
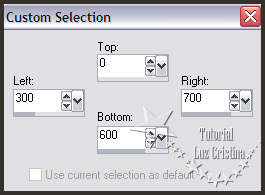
4.- Pintas con el mismo gradiente
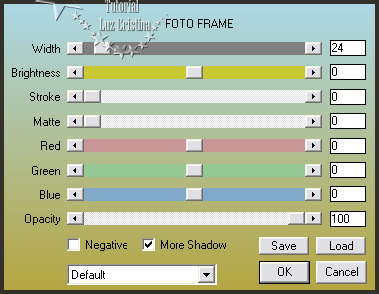
5.- Filtro AAA frames / fotoframe / selection none
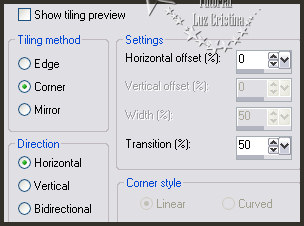
6.- Image effects / seamless tiling por default
7.- Filtro Simple / Blintz
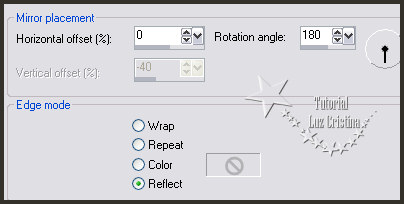
8.- Reflection effects / rotating mirror
9.-Geometrics effects / cylinder Horizontal con 70
10.- Layers / duplicate / Layers / arrange move down
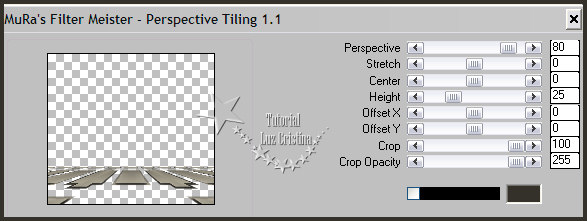
11.- Filtro Muras M. perspective tiling
12.- 3D effects / drop shadow con 14 10 80 50
13.- Repetir el paso 8 del rotating mirror.
14.- Vamos a la raster 2 / layers / duplicate / layers arrange move down por 2
veces
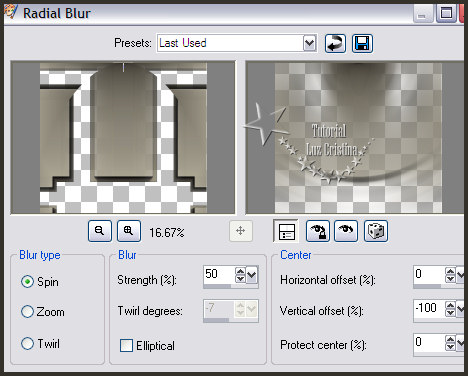
15.- Adjust / blur / radial blur
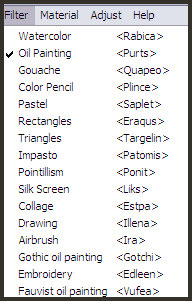
16.- Filtro Virtual painter
17.- Filtro FMTT / saturation emboss
18.- Layers / duplicate
19.- Distortion effects / polar coordinates con / rectangular to polar
transparente
20.- Resize solo esta layer en 70%
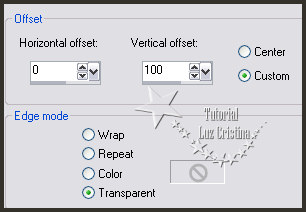
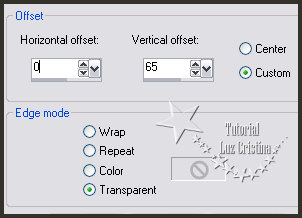
21.- Image effects / offset
22.- Layers / merge / merge down / blend mode de la layers en hard light
(opcional)
23.- Vamos a la raster 2 / Distortion effects / pixelate con 25 symetric
24.- Filtro FMTT / blend emboss
25.- Aplicamos la misma drop shadow
26.- Copy el misted y as paste new layer
27.- Image effects / seamless tiling por default
28.- Image effects / offset
29.- Copy los tubes y acomode, agregue drop shadow a su gusto (yo usé la misma)
30.- Image add borders
add border de 3px color oscuro
add border de 2px color claro
add border de 55px color oscuro.
31.- Vamos a repetir el paso del filtro AAA frames fotoframe
32.- Resize en 85%
33.- add border de 2pxcolor claro
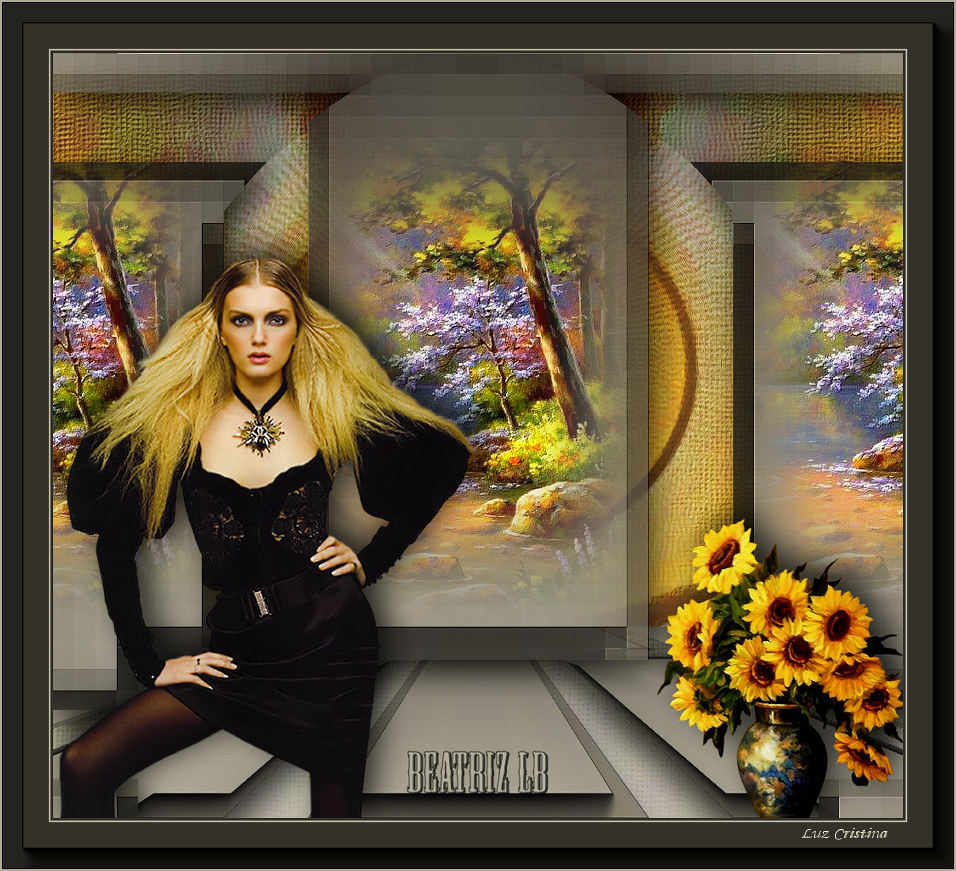
Otro Ejemplo ...
Sean
Felices
!!!
Mis besitos amorosos como
siempre
!!!
Luz Cristina
"Soy feliz porque hago lo que me
gusta hacer"
Créditos:
Tutorial Beatriz LB
Mexicali Baja California, México
22 mayo del 2023
Tubes
Personales