Tutorial
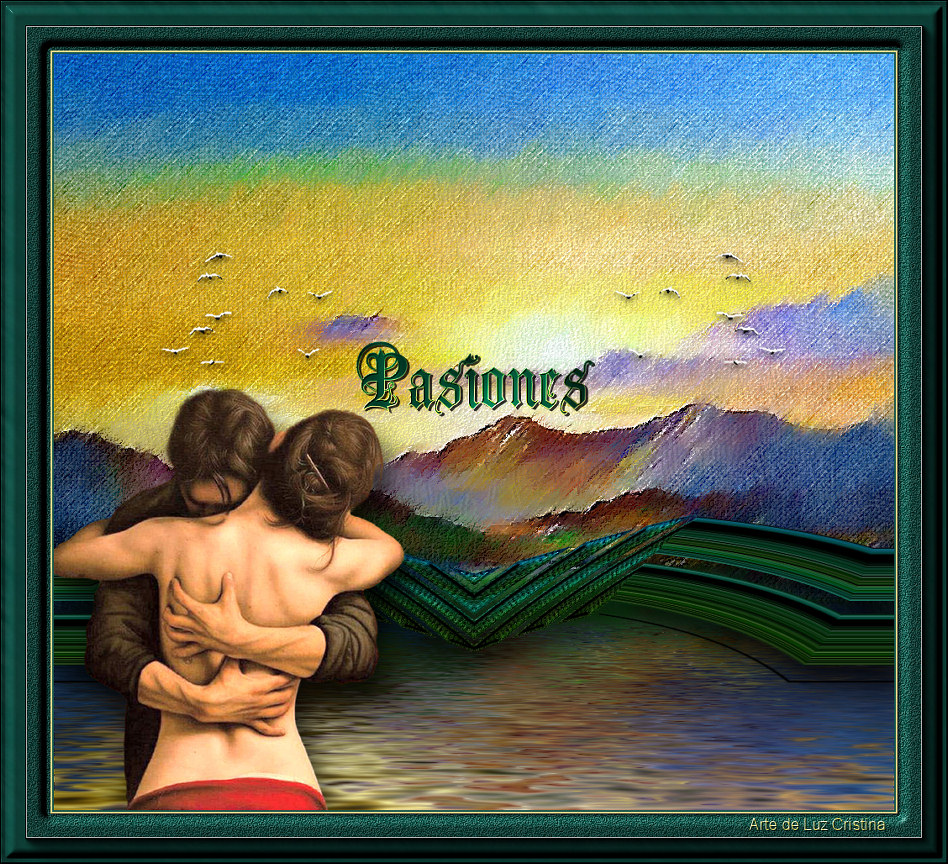
Pasiones
Material:
Tres Tubes
Una Im�gen JPG
Filtros:
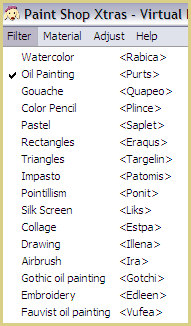
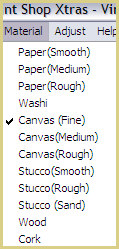
Virtual Painter4
Artistiques
MuRas M. Copies
FMTT
Flood
AAA Frames
Usa la
Flechita
para Seguir el Tutorial
1.- Vamos a crear un pa�o de
1000 X 900px
2.-Select all / copy la im�gen JPG del paisaje y paste into selection /
selection none
3.- Filtro Virtual painter 4 como lo ven
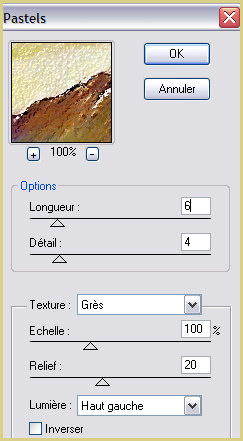
4.-Filtro Artistiques / pastels
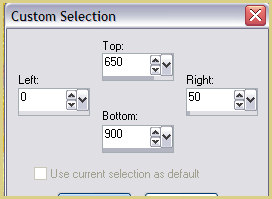
5.-Herramienta Selection / custom selection, vamos a tomar un pedacito de
nuestro dise�o
6.- Copy / paste as new imagen, ya tenemos una barra
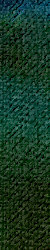
Selection none / copy tu barra y paste as new layer
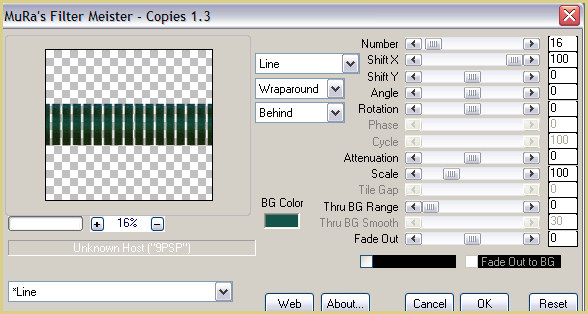
7.- Filtro MuRas M. Copies
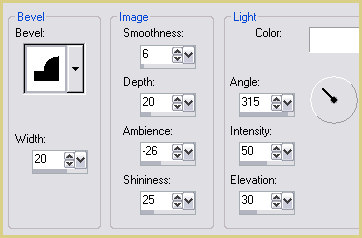
8.-3D effects / inner bevel
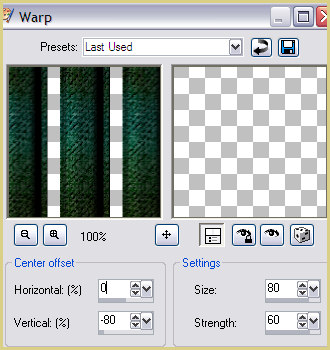
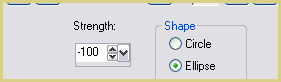
9.-Distortion effects / warp
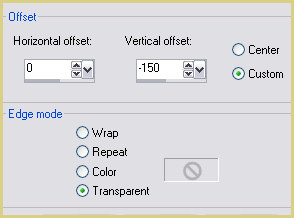
10.-Image effects / offset
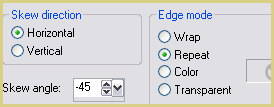
11.- Geometrics effects / skew
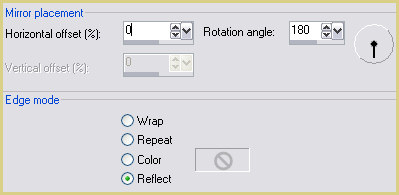
12.-Reflection effects / rotating mirror
13.-Geometrics effects / spherize
14.- 3D effects / drop shadow con 25 10 80 50
15.-Filtro FMTT / saturation emboss
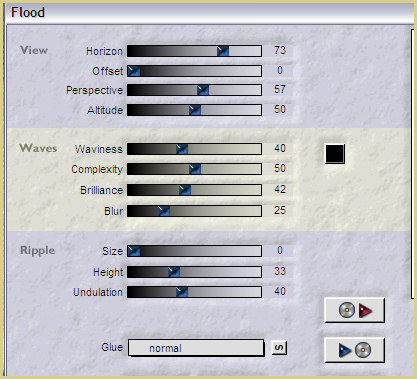
16.- Vamos a la raster 1 / filtro flood
17.-Copy el tube de la pareja y paste as new layer y acomode como en mi
ejemplo
18.- Layers / arrange bring to top
19.- 3D effects / drop shadow con los mismos valores anteriores
20.- Copy el texto / paste as new layer y acomode donde le guste, as� mismo
el tube de los p�jaros
los cuales dupliqu� y di image / mirror
21.- Image / add borders
de 2px color #14554b
add border de 2px color #d9cf86
add border de 60px color #14554b
Selecciona el �ltimo border con tu varita m�gica
Adjust / add remove noise / add noise con 20 uniforme mono
Filtro FMTT / blend emboss
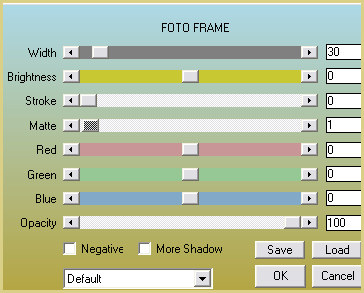
Filtro AAA Frames / fotoframe
3D effects / inner bevel mismos valores anteriores / selection none
Resize en 84%
Mis besitos amorosos como
siempre
!!!
Luz Cristina
"Soy feliz porque hago lo que me
gusta hacer"
Cr�ditos:
Tutorial Pasiones
Mexicali Baja California, M�xico
21 de octubre de 2023
Tubes Personales