Tutorial
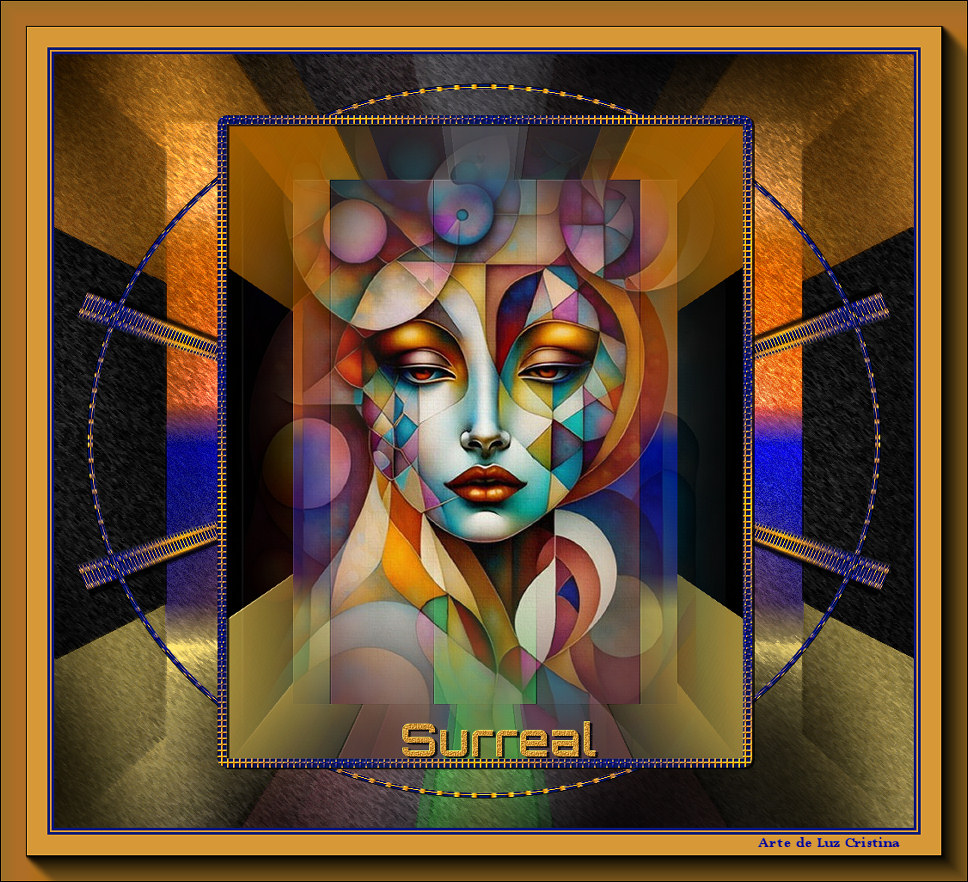
Surreal
Material:
Un Misted
Un Tube
Filtros:
Toadies
Factory "B"
FMTT
Muras M. Copies
Simple
Artistiques
Graphics plus
AAA Frames
Usa la
Flechita
para Seguir el Tutorial
1.- Abrir un pa�o de 1000 X 900px
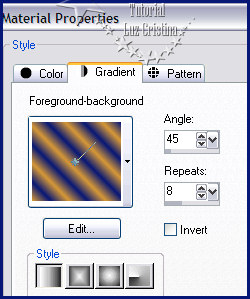
2.- Paleta de colores en el foreground #d79937 y background #071776
forma un gradiente linear con angle en 0 y 0 repeats, pinta tu pa�o
3.-Copy el misted / select all / paste into selection / selection none
4.- Image effects / Seamless tiling por default
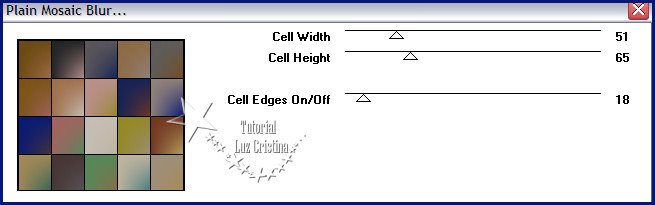
5.- Filtro Toadies / plain mosaic blur
6.- Adjust / motion blur con 0 100
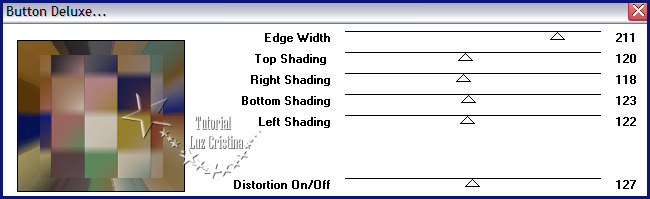
7.- Filtro Factory y gallery "B" / bottom deluxe
18.- Reflection effects / rotating mirror con 0 180 reflect
19.- Filtro FMTT / saturation emboss por default
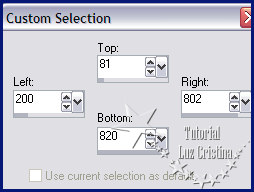
20.- Copy tu dise�o que tienes hasta ahora / Herramienta selection tool
/ custom selection as�:
21.- New raster layer
22.- Paste into selection tu dise�o que copiaste
23.- Selections / modify / select selection border
24.- New raster layer
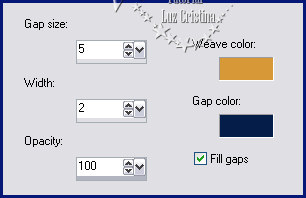
25.- Vamos a la paleta de colores y configurar el gradiente as� y pintas
el border
26.- Texture effects / weave
27.- Filtro FMTT / saturation emboss / selection none
28.- 3D effects / dropshadow 2 3 80 1
29.- Layers / duplicate
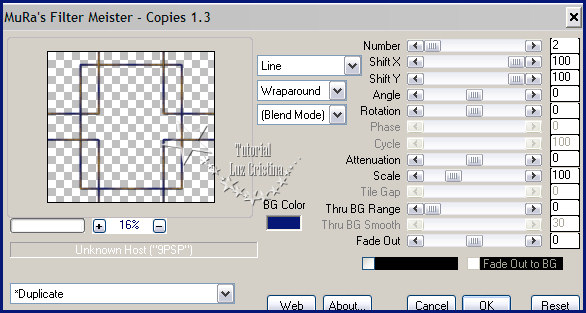
30.- Filtro Muras M. Copies as�:
31.- Layers / arrange move down por 2 veces
32.- Distortion effects / polar coordinates / rectangular to polar
transparente
33.- Image / flip
34.- Filtro Simple / top left mirror
35.- Adjust / sharpness / sharpen
36.- Vamos a la raster 1 / adjust / add remove noise / add noise con 20
uniforme mono
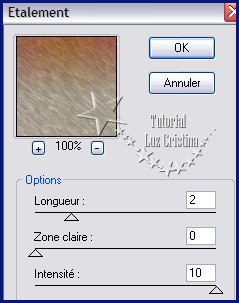
37.- Filtro artistiques / etalement
38.- Filtro Graphics plus / cross shadow por default
39.- Adjust / brightness and contrast / clarify con 5 (en sus libres
opcional)
40.- Copy tu misted y paste as new layer / layers / arrange bring to top
Pegue el texto y acomode
41.-Fui a la raster 2 y apliqu� el filtro / FMTT / saturation emboss.(opcional)
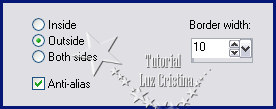
42.- Image / add border de 3px color oscuro
add border de 2px color claro
add border de 3px color oscuro
add border de 55px color claro
43.- Filtro AAA frames / fotoframe
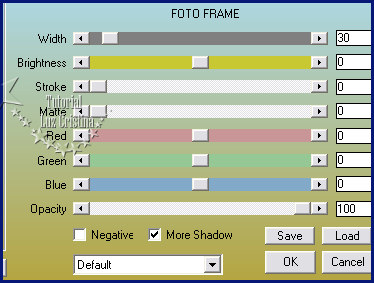
Resize en 86% o a su gusto
Mis besitos amorosos como
siempre
!!!
Luz Cristina
"Soy feliz porque hago lo que me
gusta hacer"
Cr�ditos:
Tutorial Surreal
Mexicali Baja California, M�xico
17 de abril de 2023
Tubes Personales