Tutorial
Alex Frantzen
Material:
Dos Tubes
Un Misted
Filtros :
Blur /Radial Blur
FMTT
Usa la
Flechita
para Seguir el Tutorial
1.- Crear un paño
de 1000 X 900px.
2.- Paleta de colores foreground #cfc7b0 Background #000000
formar un gradiente sunburst con angle 0 repeats 0 y pintas tu paño
3.- New raster layer / select all / copy el misted y paste into
selection / selection none
4.- Image effects / seamless tiling por default
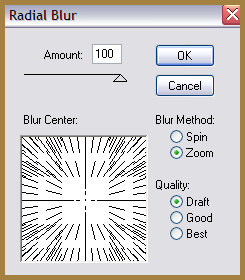
5.- Filtro Blur / Radial blur
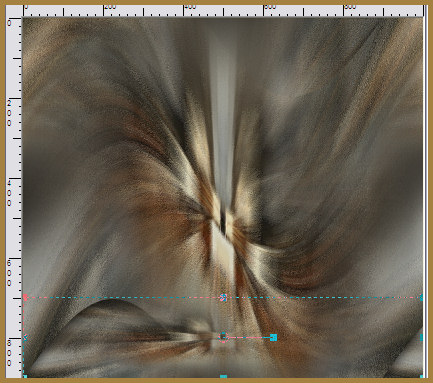
6.- Reflection effects / rotating mirror

7.-Filtro FMTT / blend emboss
8.- Layers / duplicate / Distortion effects / wave
http://pspconluzcristina.net/
9.- 3D Effects / drop shadow con 20 -11 80 40
10.- Vamos a la raster 2 / layers / duplicate
11.- Herramienta Raster deform tool bajamos a los 700px.
12.- Layers / arrange / bring to top
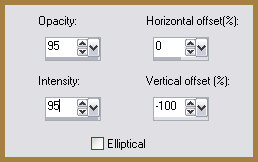
13.- Reflection effects / feedback
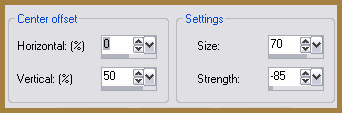
14.-Distortion effects / pinch con 100
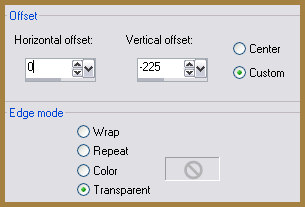
15.- Image effects / offset
16.- 3D Effects / drop shadow con 20 -11 80 40
3D Effects / drop shadow con -20 11 80 40
17.- Layers / duplicate
18.- Distortion effects / warp / Geometrics effects Cylinder
vertical con 50
19.- Copy el misted y paste as new layer
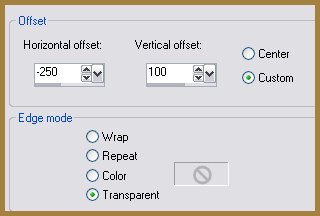
20.- Image effects / offset
21.-Reflection effects / rotating mirror mismos valores anteriores.
22.- Layers / arrange move down
Layers / arrange move down
23.- Vamos a la copy of raster 2
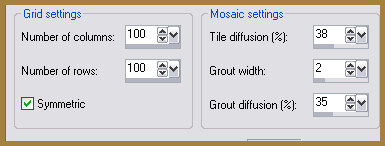
24.- Texture effects / mosaic antique
25.- Puse el blend mode de la layer en hard light (opcional)
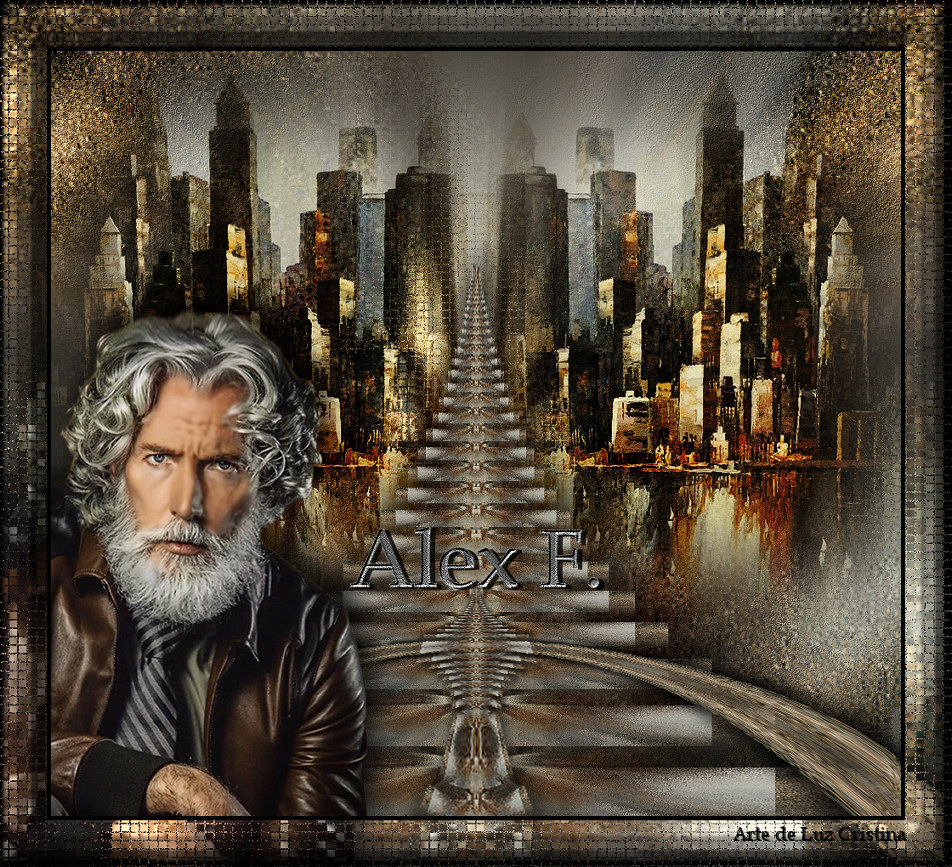
26.- Coloque el tube como en mi ejemplo con drop shadow a su gusto /
el texto ya tiene drop shadow
Borders
Add borders de 5px color oscuro
Copy su diseño
add borders de 55px color claro
Seleccione el �ltimo border y paste into selection su copy del diseño
Texture effects / mosaic antique mismos valores anteriores.
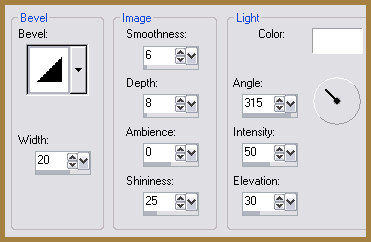
3D Effects / Inner bevel
Selection none / Resize en 85%
Mis besitos amorosos como
siempre
!!!
Luz Cristina
"Soy feliz porque hago lo que me
gusta hacer"
Créditos:
Tutorial Alex Frantzen
21 de Junio de 2024
Mexicali Baja California México
Tubes Personales